


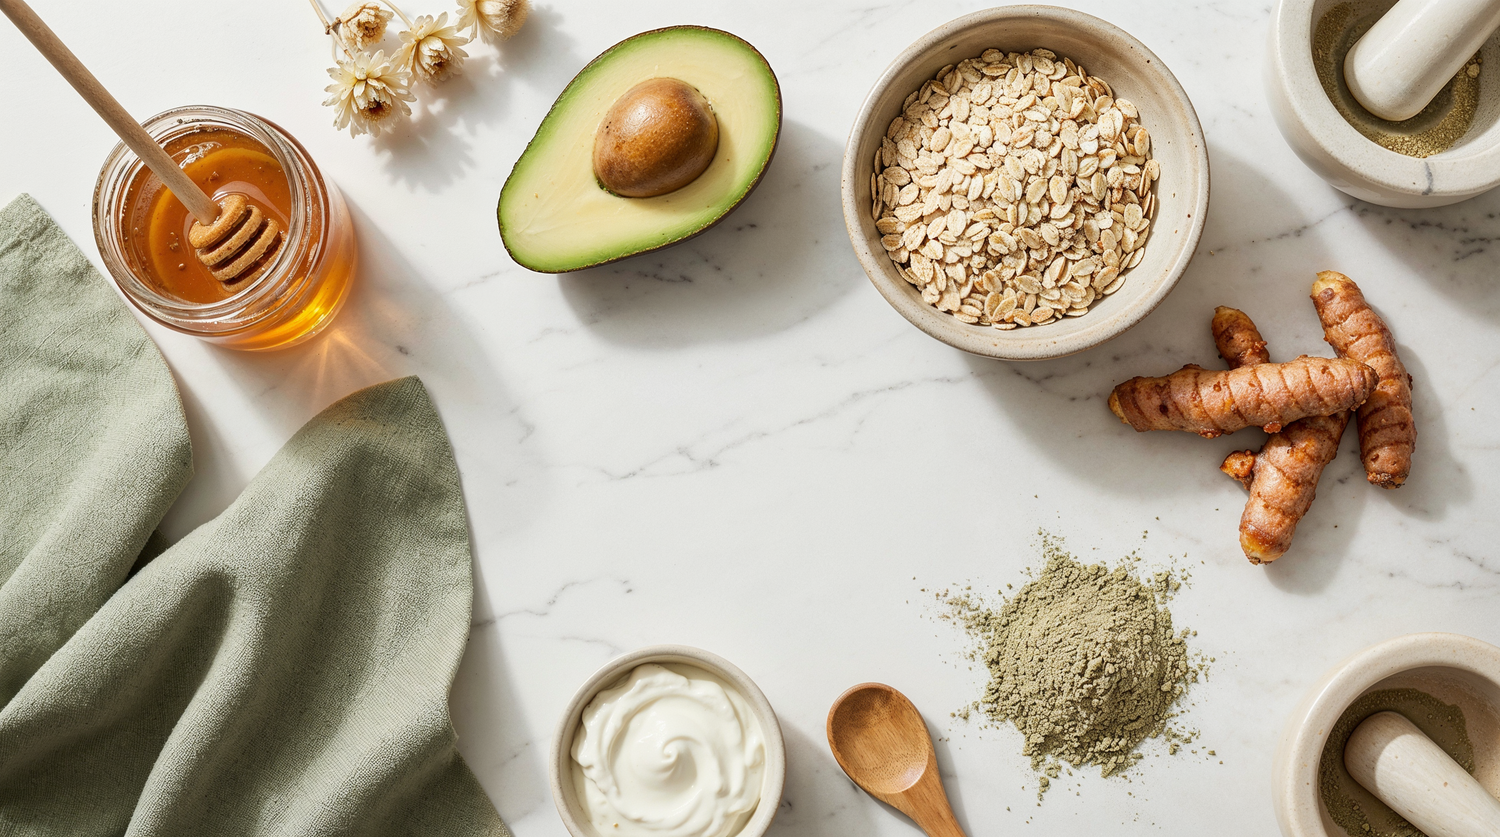
Quick Answer: The best DIY face masks use natural ingredients like honey, avocado, oatmeal, and clay to address specific skin concerns. For acne, try honey and turmeric. For dry skin, avocado and yogurt work wonders. For glowing skin, papaya enzymes brighten naturally. Apply for 15-20 minutes, 2-3 times per week for best results.
There's something deeply satisfying about creating your own skincare from ingredients you can actually pronounce. DIY face masks have been a beauty secret for centuries—from Cleopatra's milk baths to Korean rice water rituals—and they're making a serious comeback in modern skincare routines.
But here's what most articles won't tell you: homemade face masks work best when they're part of a complete skincare strategy. While a honey mask can soothe and hydrate, combining it with professional-grade tools like LED therapy or microdermabrasion can amplify your results dramatically.
In this guide, we'll share 10 proven DIY face mask recipes for every skin type, explain the science behind why they work, and show you how to maximize their benefits with simple techniques that dermatologists actually recommend.
Why DIY Face Masks Work (The Science)
You might wonder whether slathering kitchen ingredients on your face actually does anything meaningful. The answer is a resounding yes—when you choose the right ingredients for your skin type. Natural compounds have been studied extensively, and many contain the same active molecules found in expensive skincare products.
The difference? Concentration and delivery. Professional products are formulated for optimal penetration, while DIY masks offer gentler, more holistic benefits that work on the skin's surface and upper layers.
Key Active Ingredients in Homemade Face Masks
Honey is a powerhouse ingredient containing natural hydrogen peroxide, making it antibacterial and perfect for acne-prone skin. Its humectant properties draw moisture into the skin, while enzymes provide gentle exfoliation. Raw, unprocessed honey delivers the highest concentration of beneficial compounds.
Avocado provides vitamins A, D, and E along with essential fatty acids that strengthen the skin barrier. These nutrients penetrate effectively because avocado oil has a molecular structure similar to our skin's natural sebum.
Oatmeal contains avenanthramides—compounds clinically proven to reduce inflammation and itching. This makes it ideal for sensitive or irritated skin. Colloidal oatmeal is even FDA-approved as a skin protectant.
Clay (bentonite, kaolin, or French green) carries a negative electrical charge that binds to positively charged toxins and impurities. When mixed with water, clay absorbs excess oil without stripping the skin completely.
What DIY Masks Can (and Can't) Do
Let's be honest about expectations. Homemade face masks excel at surface-level improvements: temporary hydration, gentle exfoliation, soothing inflammation, and providing an immediate glow. They're wonderful for maintenance and pampering.
However, DIY masks cannot address deeper skin concerns like collagen loss, significant hyperpigmentation, or stubborn acne at its root. For these issues, you need treatments that work at the cellular level—which is where professional tools come in. More on that later.
Pro Tip: Always use raw, organic honey rather than processed varieties. Heat treatment destroys the beneficial enzymes and antibacterial compounds that make honey effective for skincare.
Choose Your Skin Concern
Not sure which DIY face mask is right for you? Select your primary skin concern below to jump directly to the recipes that will help most.
🎯 Select Your Skin Concern
DIY Face Masks for Acne-Prone Skin
Acne responds best to ingredients with antibacterial, anti-inflammatory, and oil-absorbing properties. These homemade face mask recipes target breakouts without over-drying your skin—a common mistake that actually makes acne worse.
🍯 Honey & Turmeric Anti-Inflammatory Mask
This mask combines honey's antibacterial properties with turmeric's powerful anti-inflammatory compound, curcumin. Studies show curcumin can reduce acne lesions by calming the inflammatory response that causes redness and swelling.
Ingredients: 2 tablespoons raw honey, 1/2 teaspoon turmeric powder, 1 teaspoon plain yogurt (optional, for sensitive skin)
Instructions: Mix ingredients until smooth. Apply to clean, dry skin avoiding the eye area. Leave on for 15-20 minutes. Rinse with lukewarm water, then cool water to close pores. Use 2-3 times per week.
Note: Turmeric can temporarily stain fair skin yellow. Add a drop of lemon juice or use the yogurt to minimize staining. The color fades within a few hours.
🌿 Tea Tree & Clay Purifying Mask
Bentonite clay draws out impurities while tea tree oil—nature's antiseptic—fights acne-causing bacteria. This DIY face mask for acne is particularly effective for oily, congested skin.
Ingredients: 1 tablespoon bentonite clay, 1 tablespoon apple cider vinegar, 2-3 drops tea tree essential oil, water as needed
Instructions: Combine clay and apple cider vinegar (the mixture will fizz—that's normal). Add tea tree oil and enough water to create a spreadable paste. Apply evenly, avoiding eyes and lips. Let dry for 10-15 minutes. Rinse thoroughly. Use once weekly.
Pro Tip: Never use metal bowls or utensils with clay masks—metal can reduce the clay's effectiveness. Glass or ceramic works best for mixing your homemade face mask for acne.
DIY Face Masks for Dry Skin
Dry skin needs intense hydration and barrier repair. These homemade hydrating face mask recipes deliver moisture while strengthening your skin's natural protective layer.
🥑 Avocado & Honey Deep Hydration Mask
Avocado provides fatty acids that mimic your skin's natural lipids, while honey locks in moisture. This combination creates a DIY hydrating face mask that rivals professional treatments.
Ingredients: 1/2 ripe avocado, 1 tablespoon raw honey, 1 teaspoon olive oil (for extra-dry skin)
Instructions: Mash avocado until completely smooth (lumps can be uncomfortable). Blend in honey and olive oil. Apply generously to face and neck. Relax for 20 minutes. Remove with a warm, damp washcloth. Follow with your regular moisturizer.
🥣 Oatmeal & Yogurt Soothing Mask
Perfect for dry, sensitive, or irritated skin. Colloidal oatmeal calms inflammation while yogurt's lactic acid provides gentle exfoliation and probiotics support skin health.
Ingredients: 2 tablespoons ground oatmeal (blend regular oats into powder), 2 tablespoons plain Greek yogurt, 1 teaspoon honey
Instructions: Mix all ingredients into a thick paste. Apply to clean skin, gently massaging in circular motions for 30 seconds. Leave on for 15 minutes. Rinse with cool water. Your skin will feel immediately softer and calmer.
DIY Face Masks for Glowing Skin
Dull skin happens when dead cells accumulate on the surface, blocking light reflection. These homemade face masks for glowing skin use natural enzymes and vitamin C to gently dissolve that buildup and reveal radiance underneath.
🍈 Papaya Enzyme Brightening Mask
Papaya contains papain, an enzyme that breaks down dead skin cells naturally. Unlike harsh scrubs, enzymatic exfoliation works chemically—no abrasion required. This homemade glowing face mask is gentle enough for most skin types.
Ingredients: 1/4 cup ripe papaya (mashed), 1 tablespoon honey, 1/2 teaspoon lemon juice (optional, for extra brightening)
Instructions: Blend papaya until smooth. Mix in honey and lemon juice if using. Apply to face, avoiding eye area. Leave on for 10-15 minutes—you may feel a slight tingling, which is normal. Rinse with lukewarm water. Use weekly for best results.
🍊 Vitamin C & Honey Radiance Mask
Orange provides natural vitamin C, a proven brightening agent that inhibits melanin production and boosts collagen. This face mask recipe delivers an immediate glow while working on long-term radiance.
Ingredients: 2 tablespoons fresh orange juice, 1 tablespoon honey, 1 tablespoon plain yogurt
Instructions: Combine all ingredients thoroughly. Apply to clean skin. Relax for 15-20 minutes. Rinse with cool water. Follow with SPF—vitamin C can increase sun sensitivity.
The Glow Factor: For truly radiant skin, exfoliation is only half the equation. Removing dead cells reveals fresh skin, but stimulating collagen production is what creates that lit-from-within glow. This is where combining DIY masks with LED light therapy makes a real difference.
DIY Face Masks for Oily Skin
The goal for oily skin isn't to strip away all oil—that backfires, triggering even more sebum production. These DIY skin masks balance oil production while minimizing pore appearance.
🧱 Bentonite Clay & Apple Cider Vinegar Mask
This classic combination absorbs excess oil, unclogs pores, and balances skin pH. Apple cider vinegar's natural acids help refine pore appearance over time.
Ingredients: 1 tablespoon bentonite clay, 1 tablespoon apple cider vinegar, 1-2 teaspoons water
Instructions: Mix clay and apple cider vinegar in a non-metal bowl. Add water to achieve a smooth, spreadable consistency. Apply a thin, even layer. Let dry for 10-15 minutes (you'll feel it tighten). Rinse thoroughly with warm water. Use once or twice weekly.
🥚 Egg White Pore-Minimizing Mask
Egg whites temporarily tighten skin and minimize pore appearance. The protein also helps absorb excess oil without dehydrating.
Ingredients: 1 egg white, 1 teaspoon lemon juice, 1/2 teaspoon honey
Instructions: Whisk egg white until slightly frothy. Add lemon juice and honey, mixing well. Apply in thin layers, allowing each layer to dry slightly before adding more (2-3 layers total). Leave on for 15-20 minutes until completely dry. Peel or rinse off gently.
How to Apply DIY Face Masks (Step-by-Step)
Even the best homemade facial mask won't work properly if applied incorrectly. Follow these steps to maximize absorption and results.
Important — Always Patch Test: Before applying any new DIY face mask to your entire face, test a small amount on your inner wrist or behind your ear. Wait 24 hours. If redness, itching, or irritation occurs, don't use that recipe.
Boost Your Results: Combining DIY Masks with Professional Tools
Here's where things get interesting. DIY face masks provide surface-level benefits, but when you combine them with professional skincare technology, you address skin concerns at multiple levels simultaneously.
Think of it like exercise and nutrition. A healthy diet (DIY masks) keeps you nourished, but adding strength training (professional tools) builds results you can't achieve with diet alone.
Before Your Mask: Microdermabrasion Prep
Professional microdermabrasion removes the dead cell layer that blocks ingredient absorption. When you apply a DIY mask after microdermabrasion treatment, active ingredients penetrate up to 20 times better than on untreated skin.
Home microdermabrasion devices use diamond-tip exfoliation or vacuum suction to gently remove surface cells. This prep step transforms a simple honey mask into a deeply nourishing treatment that reaches viable skin cells.
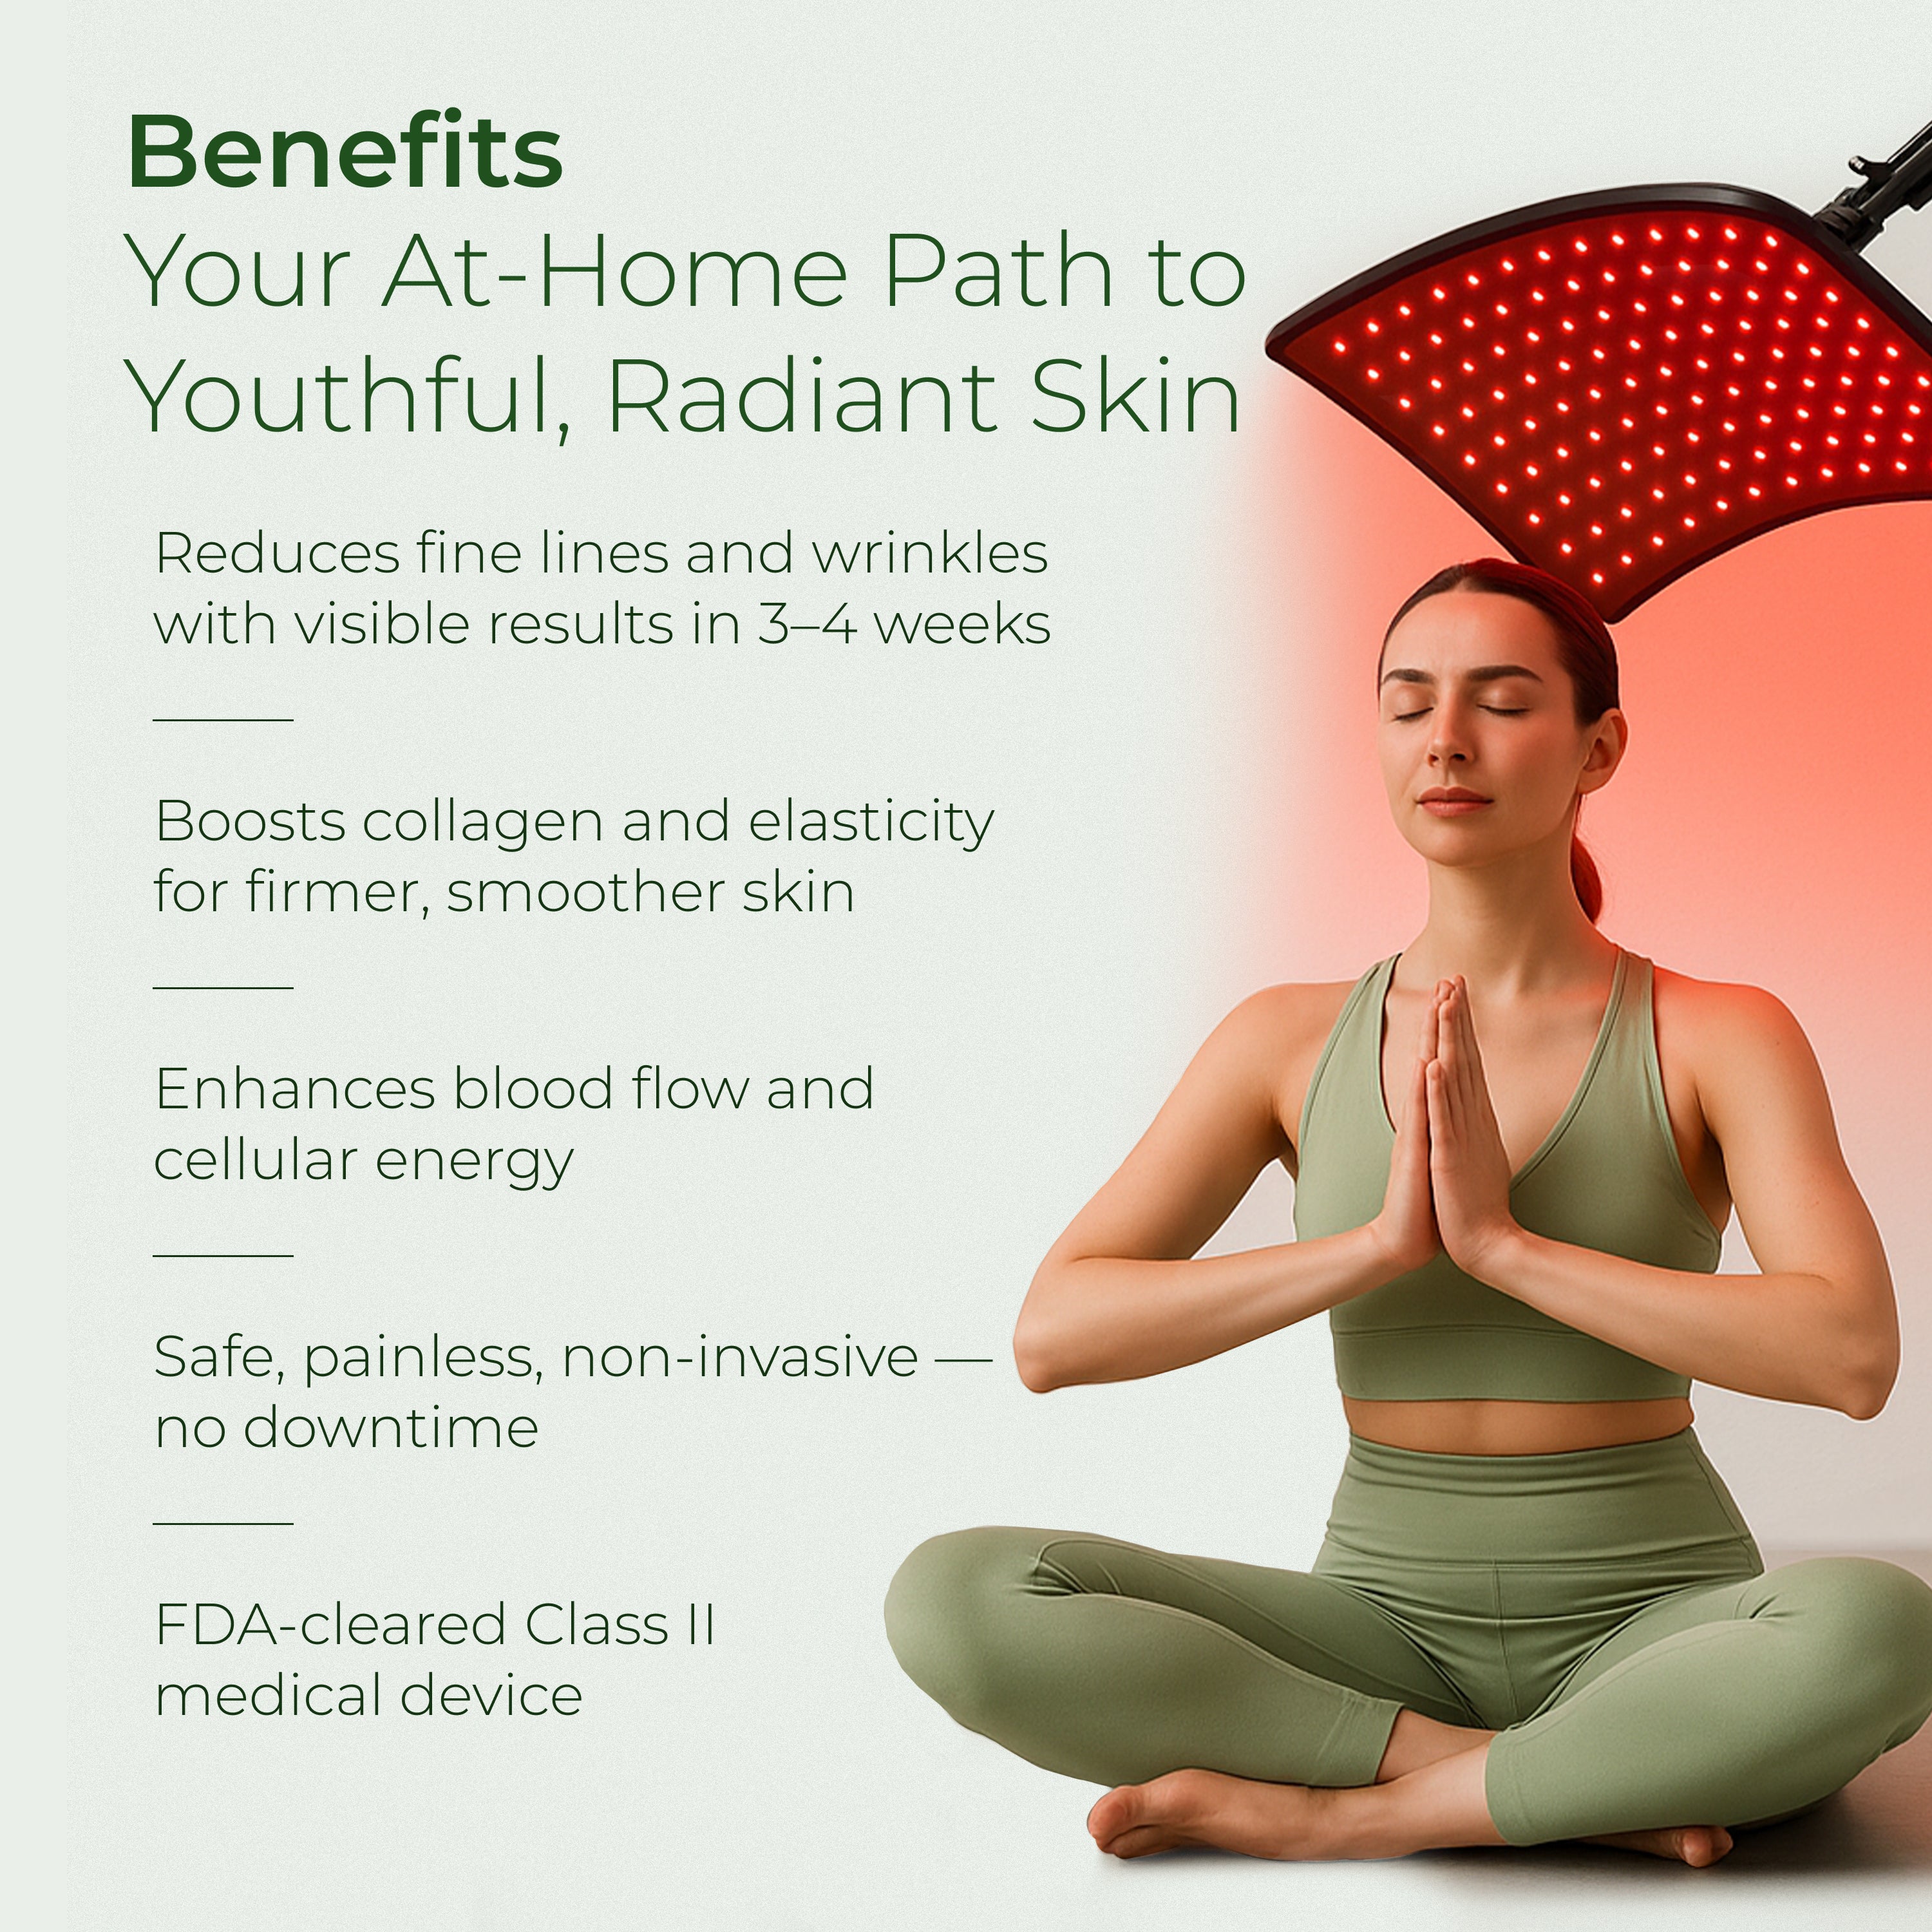
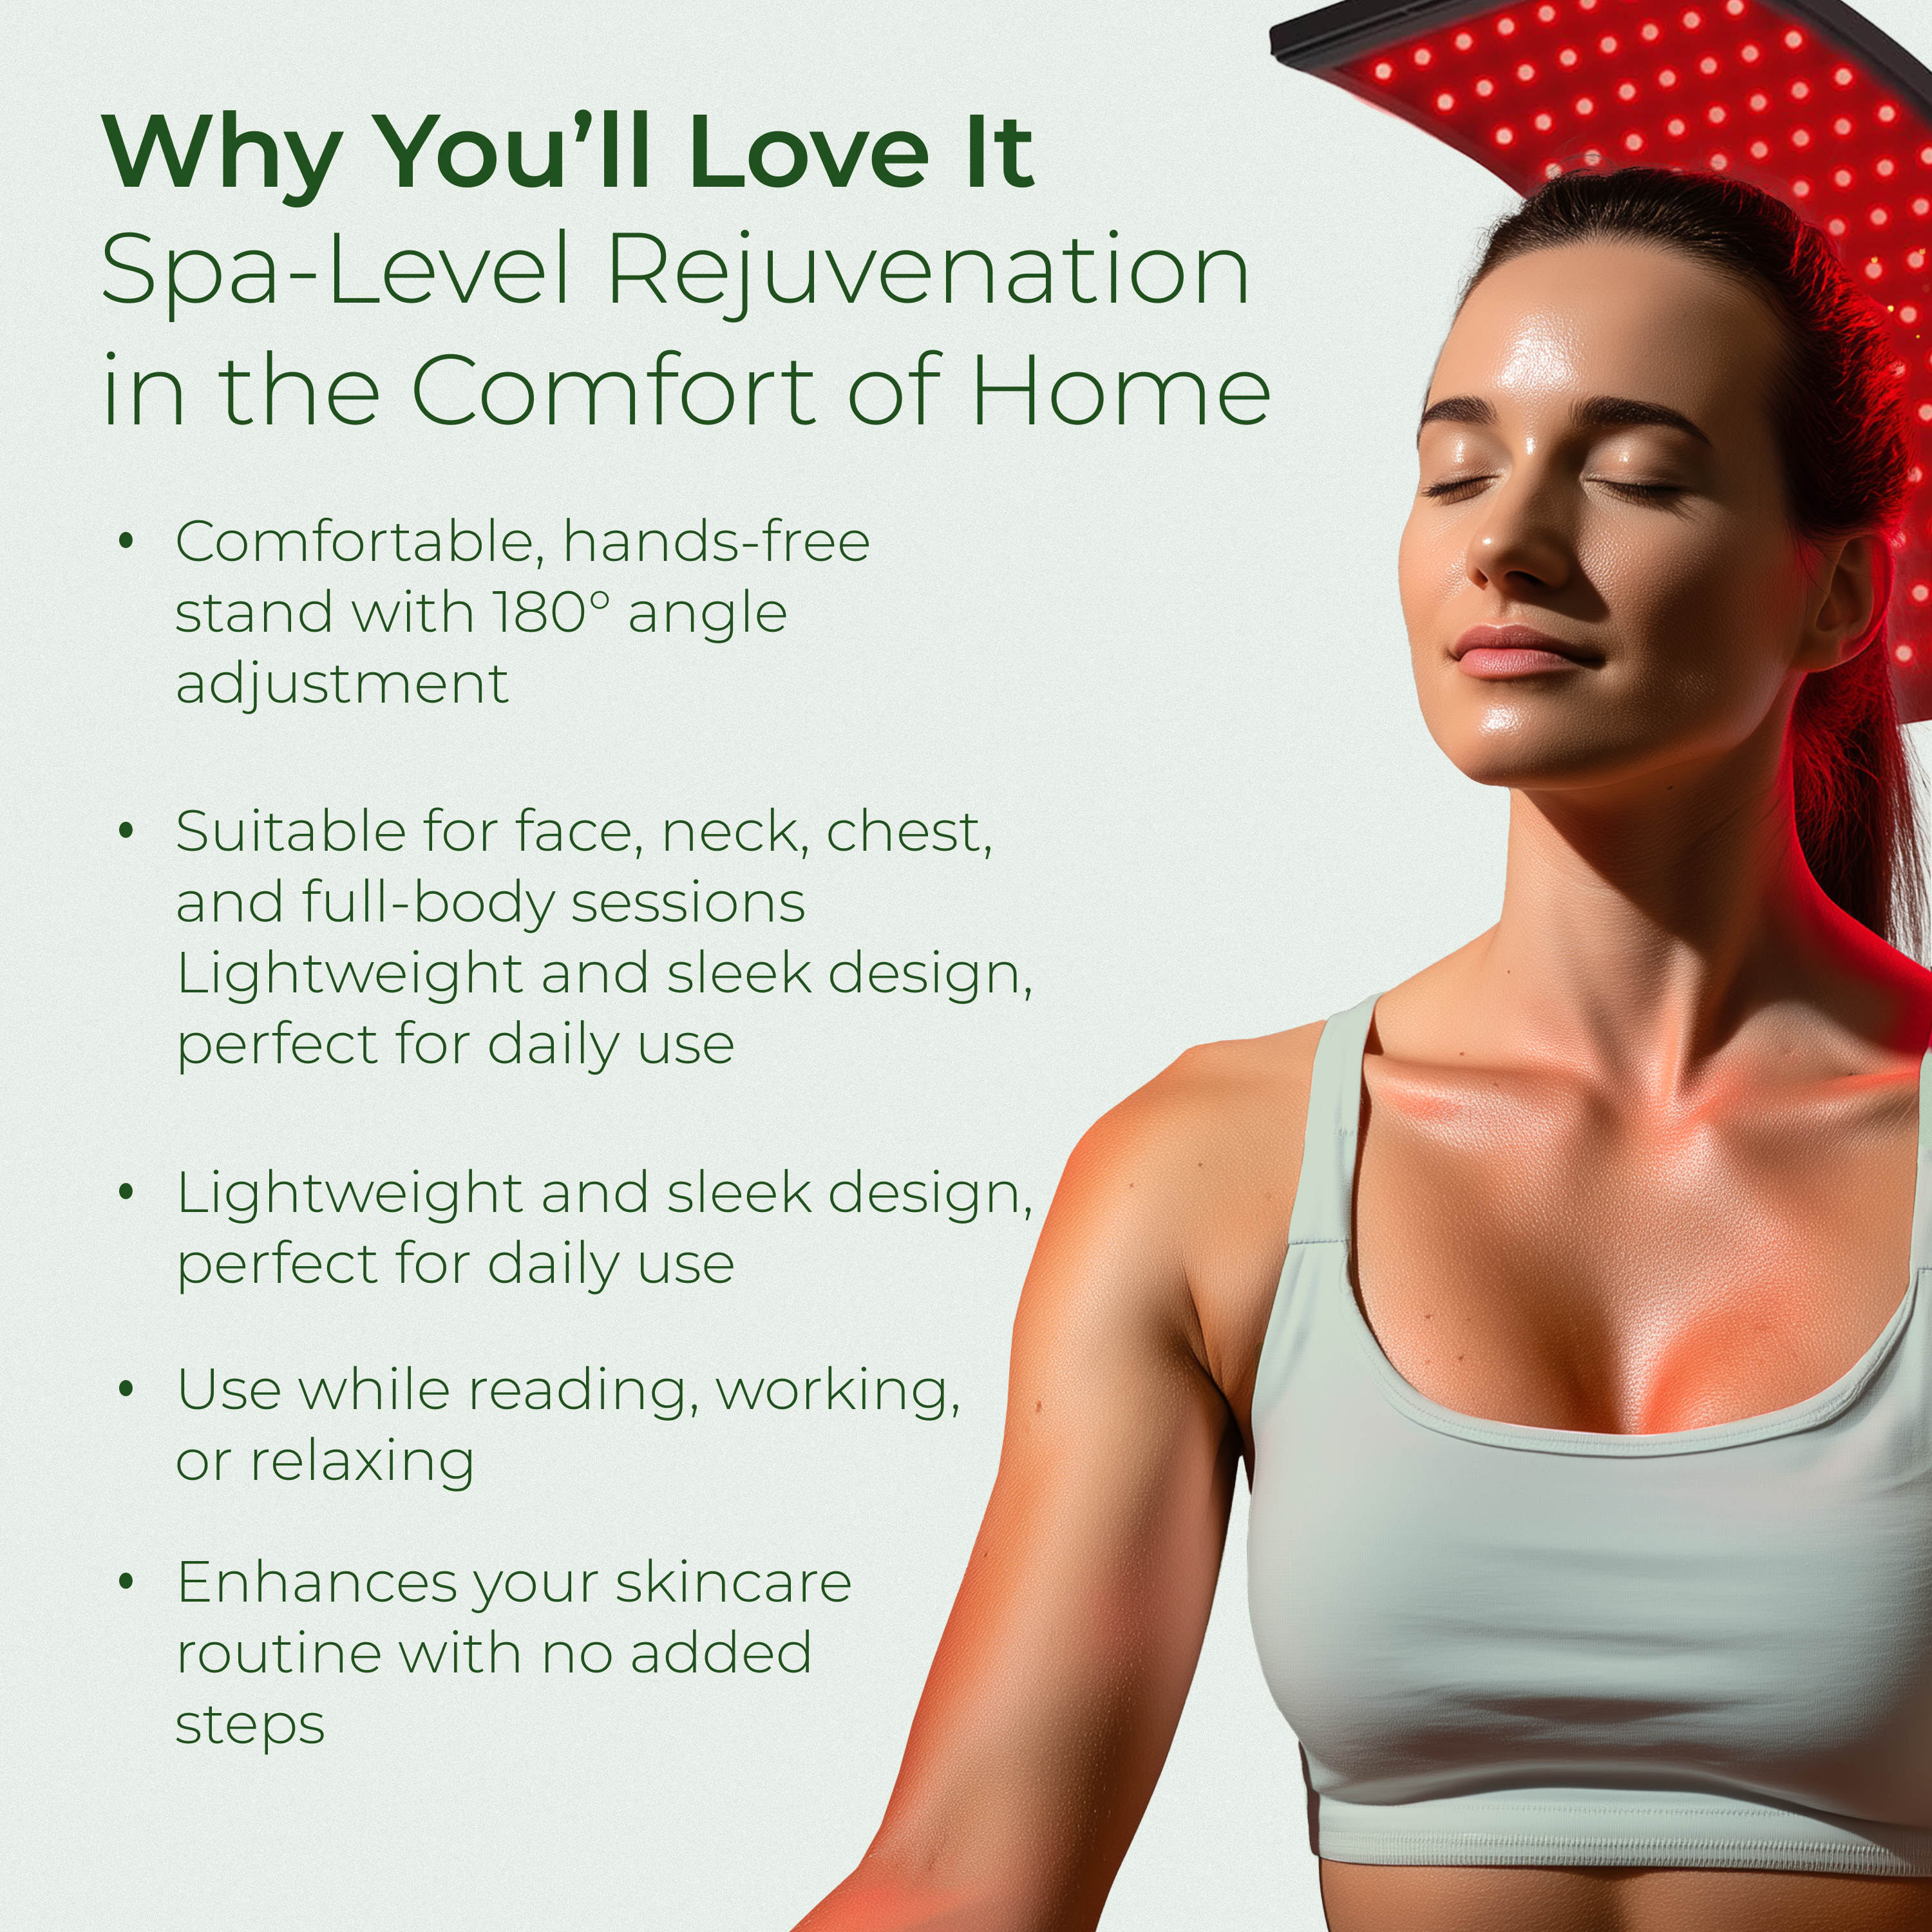
After Your Mask: LED Light Therapy
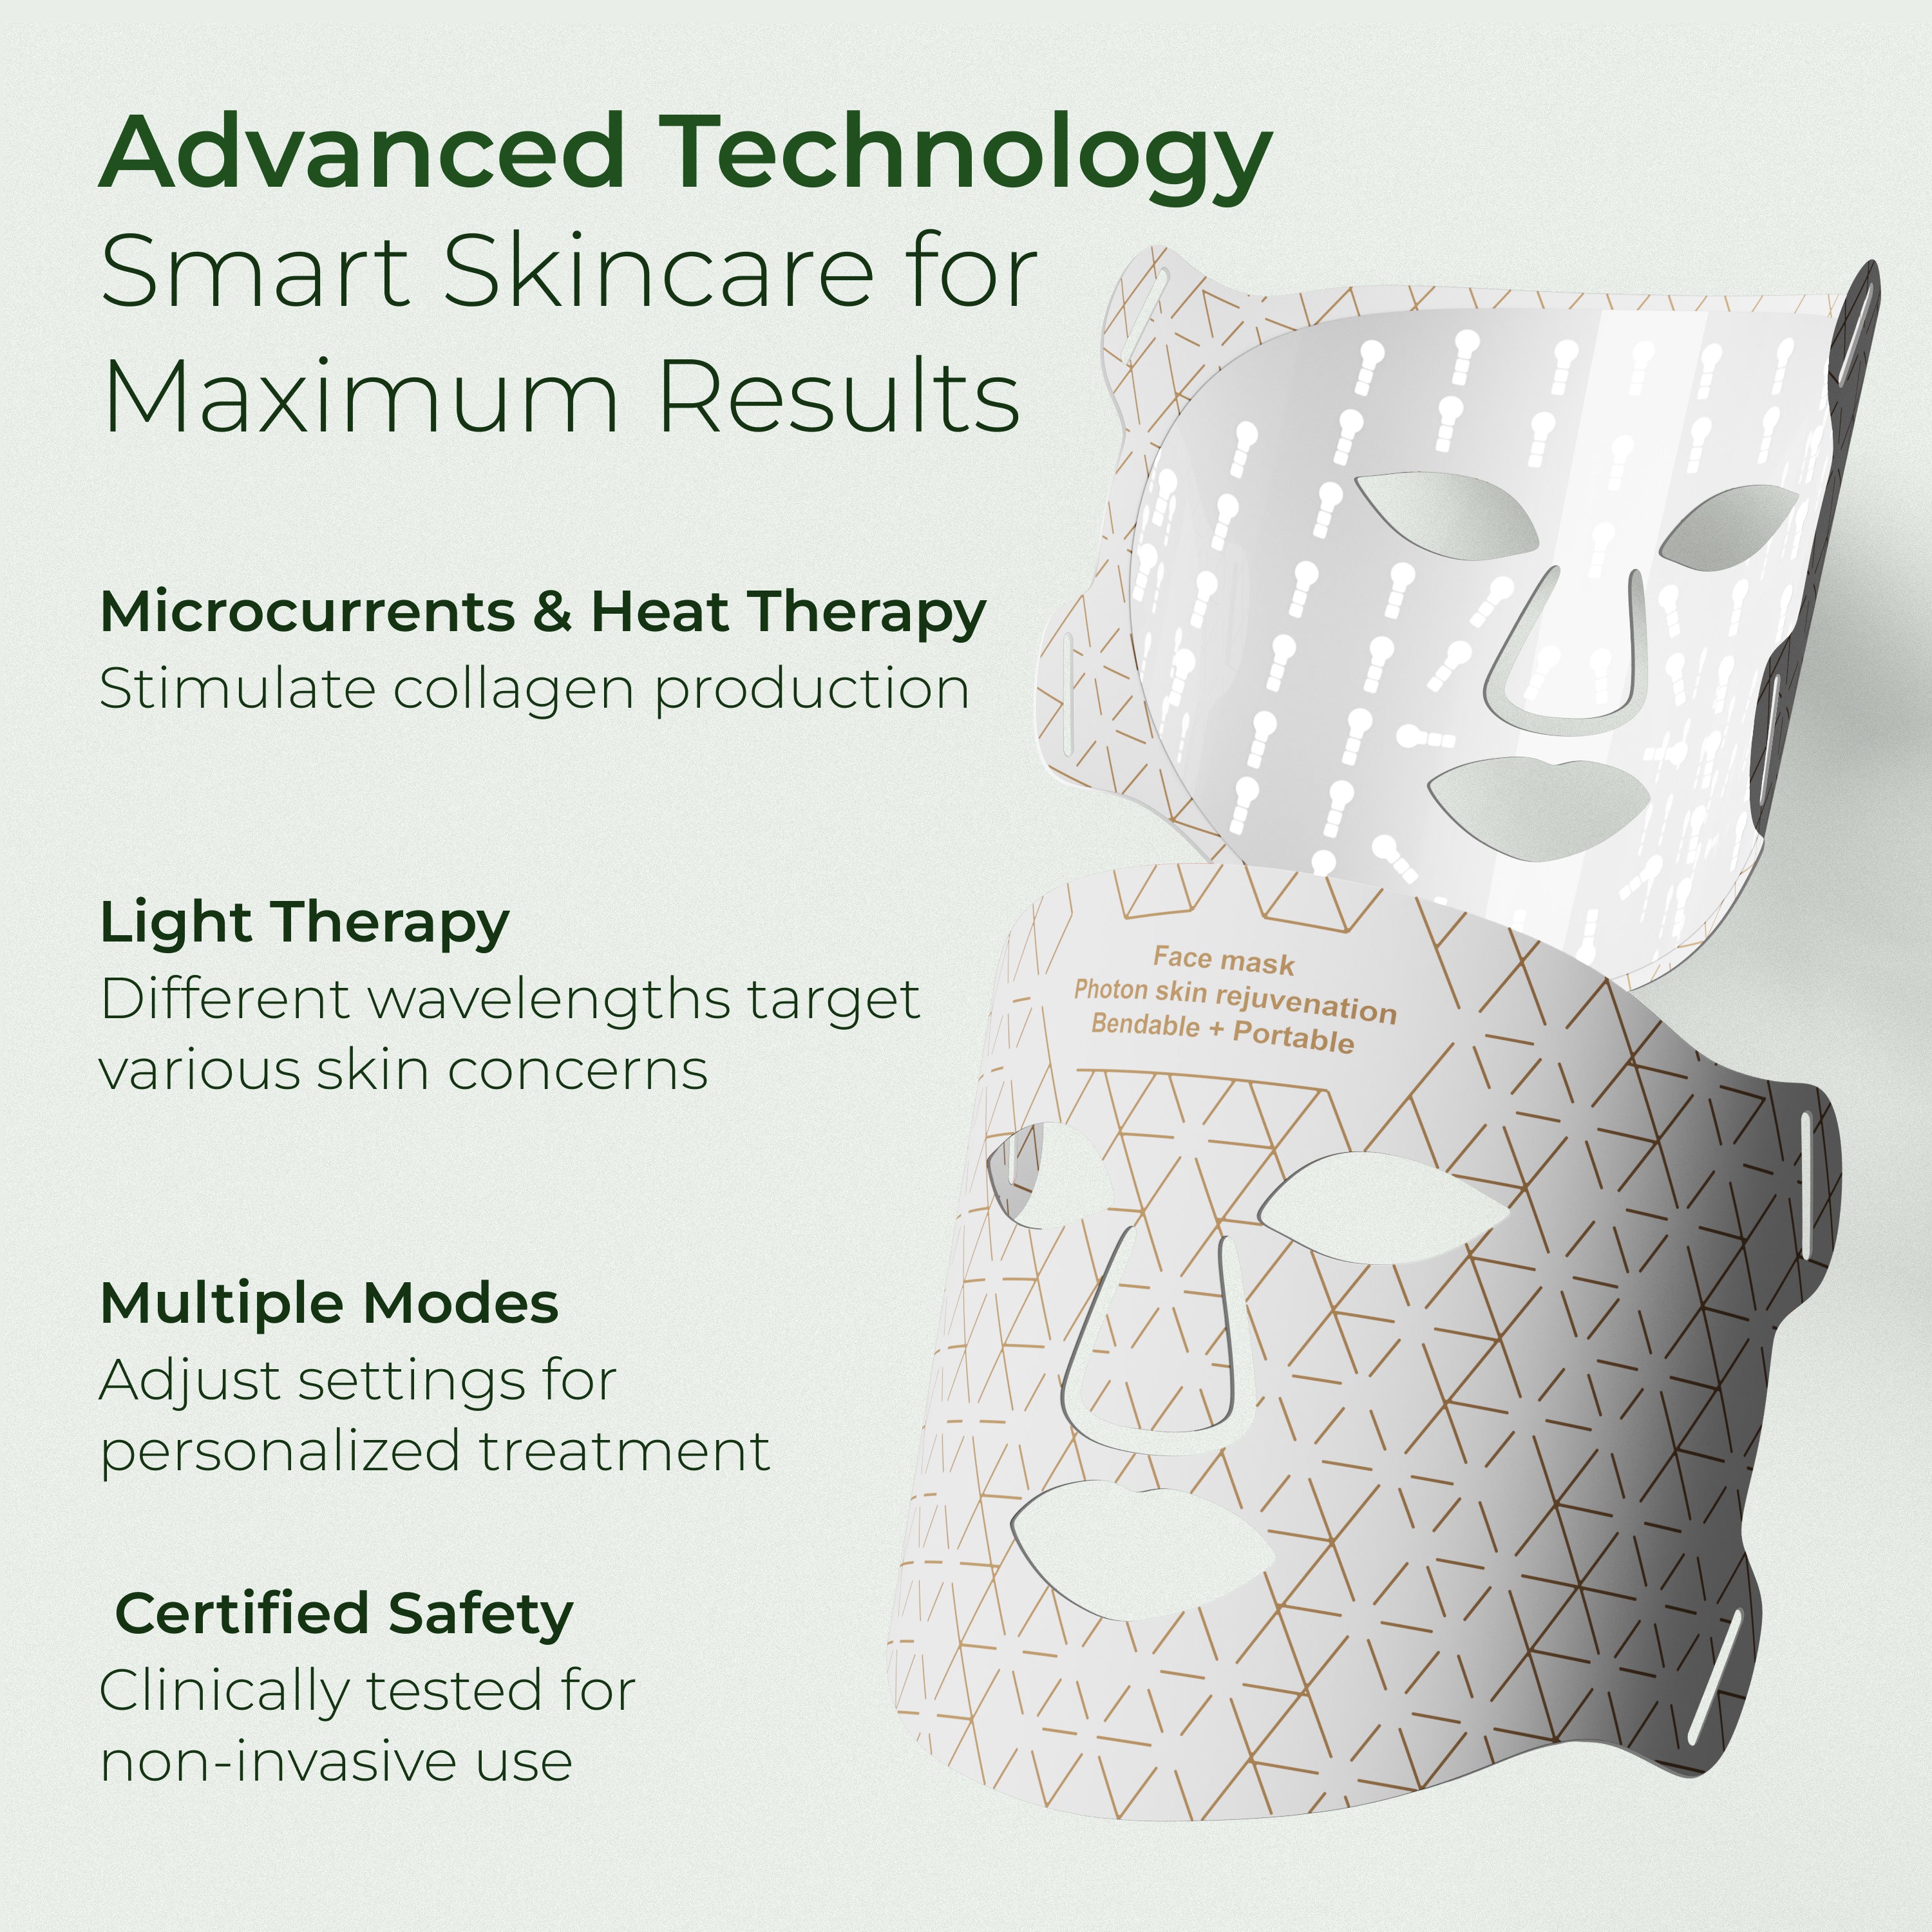
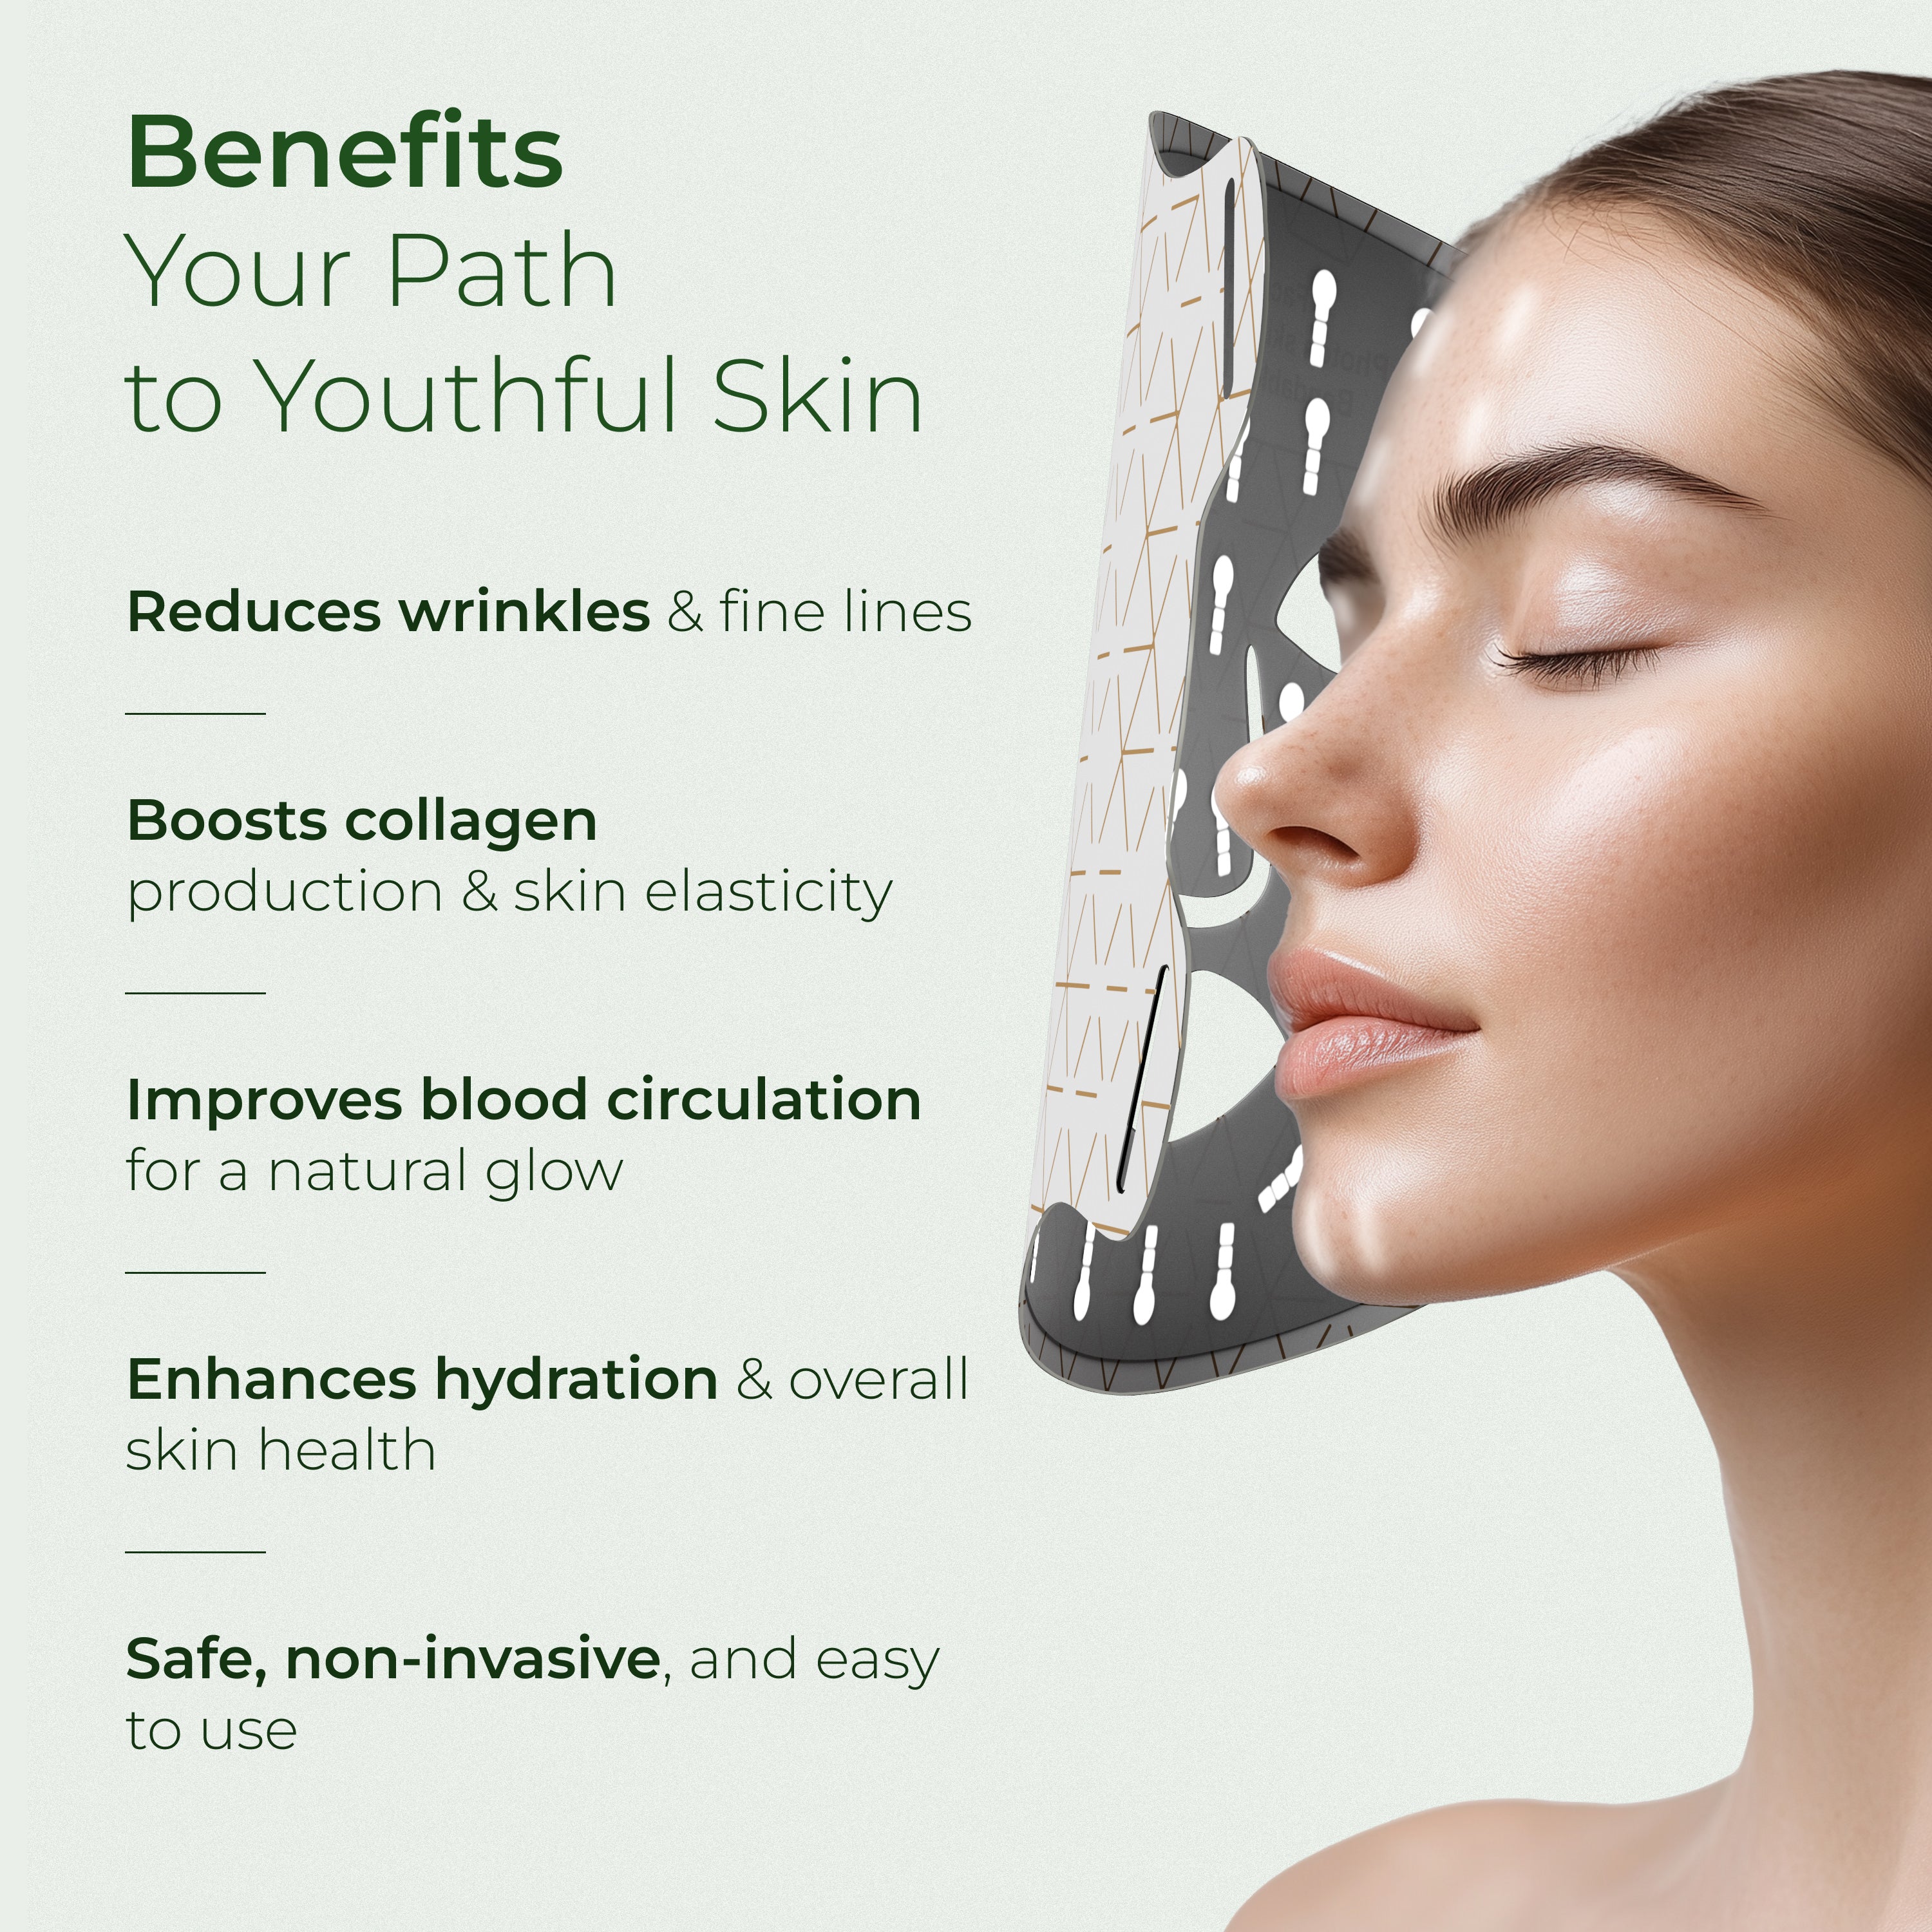
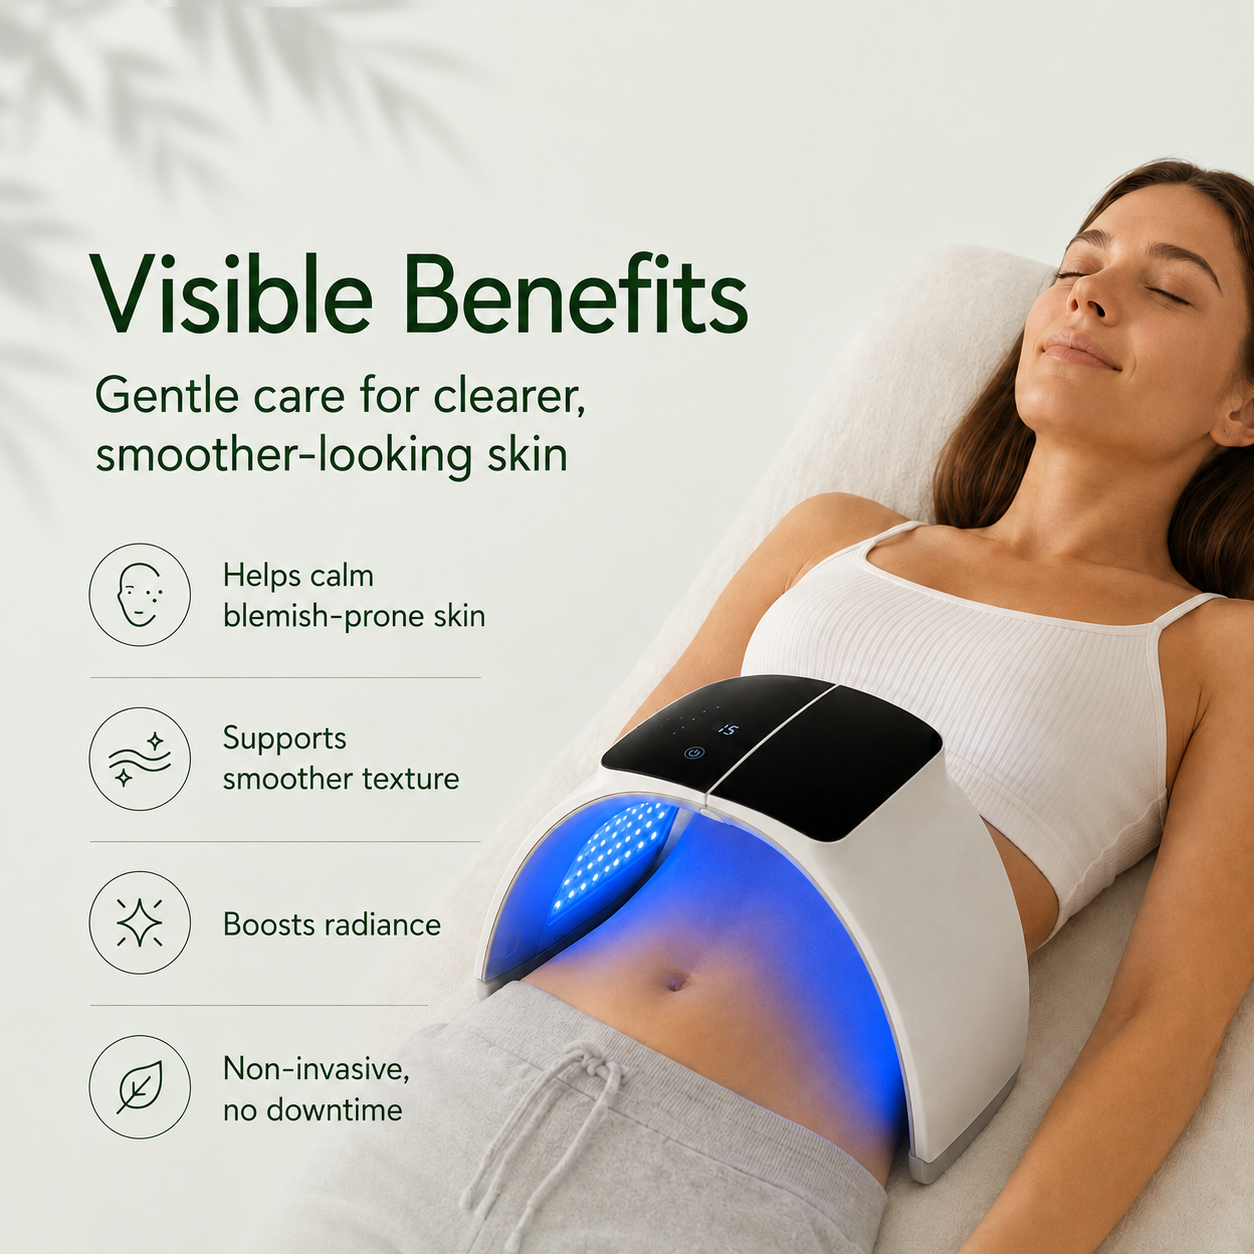
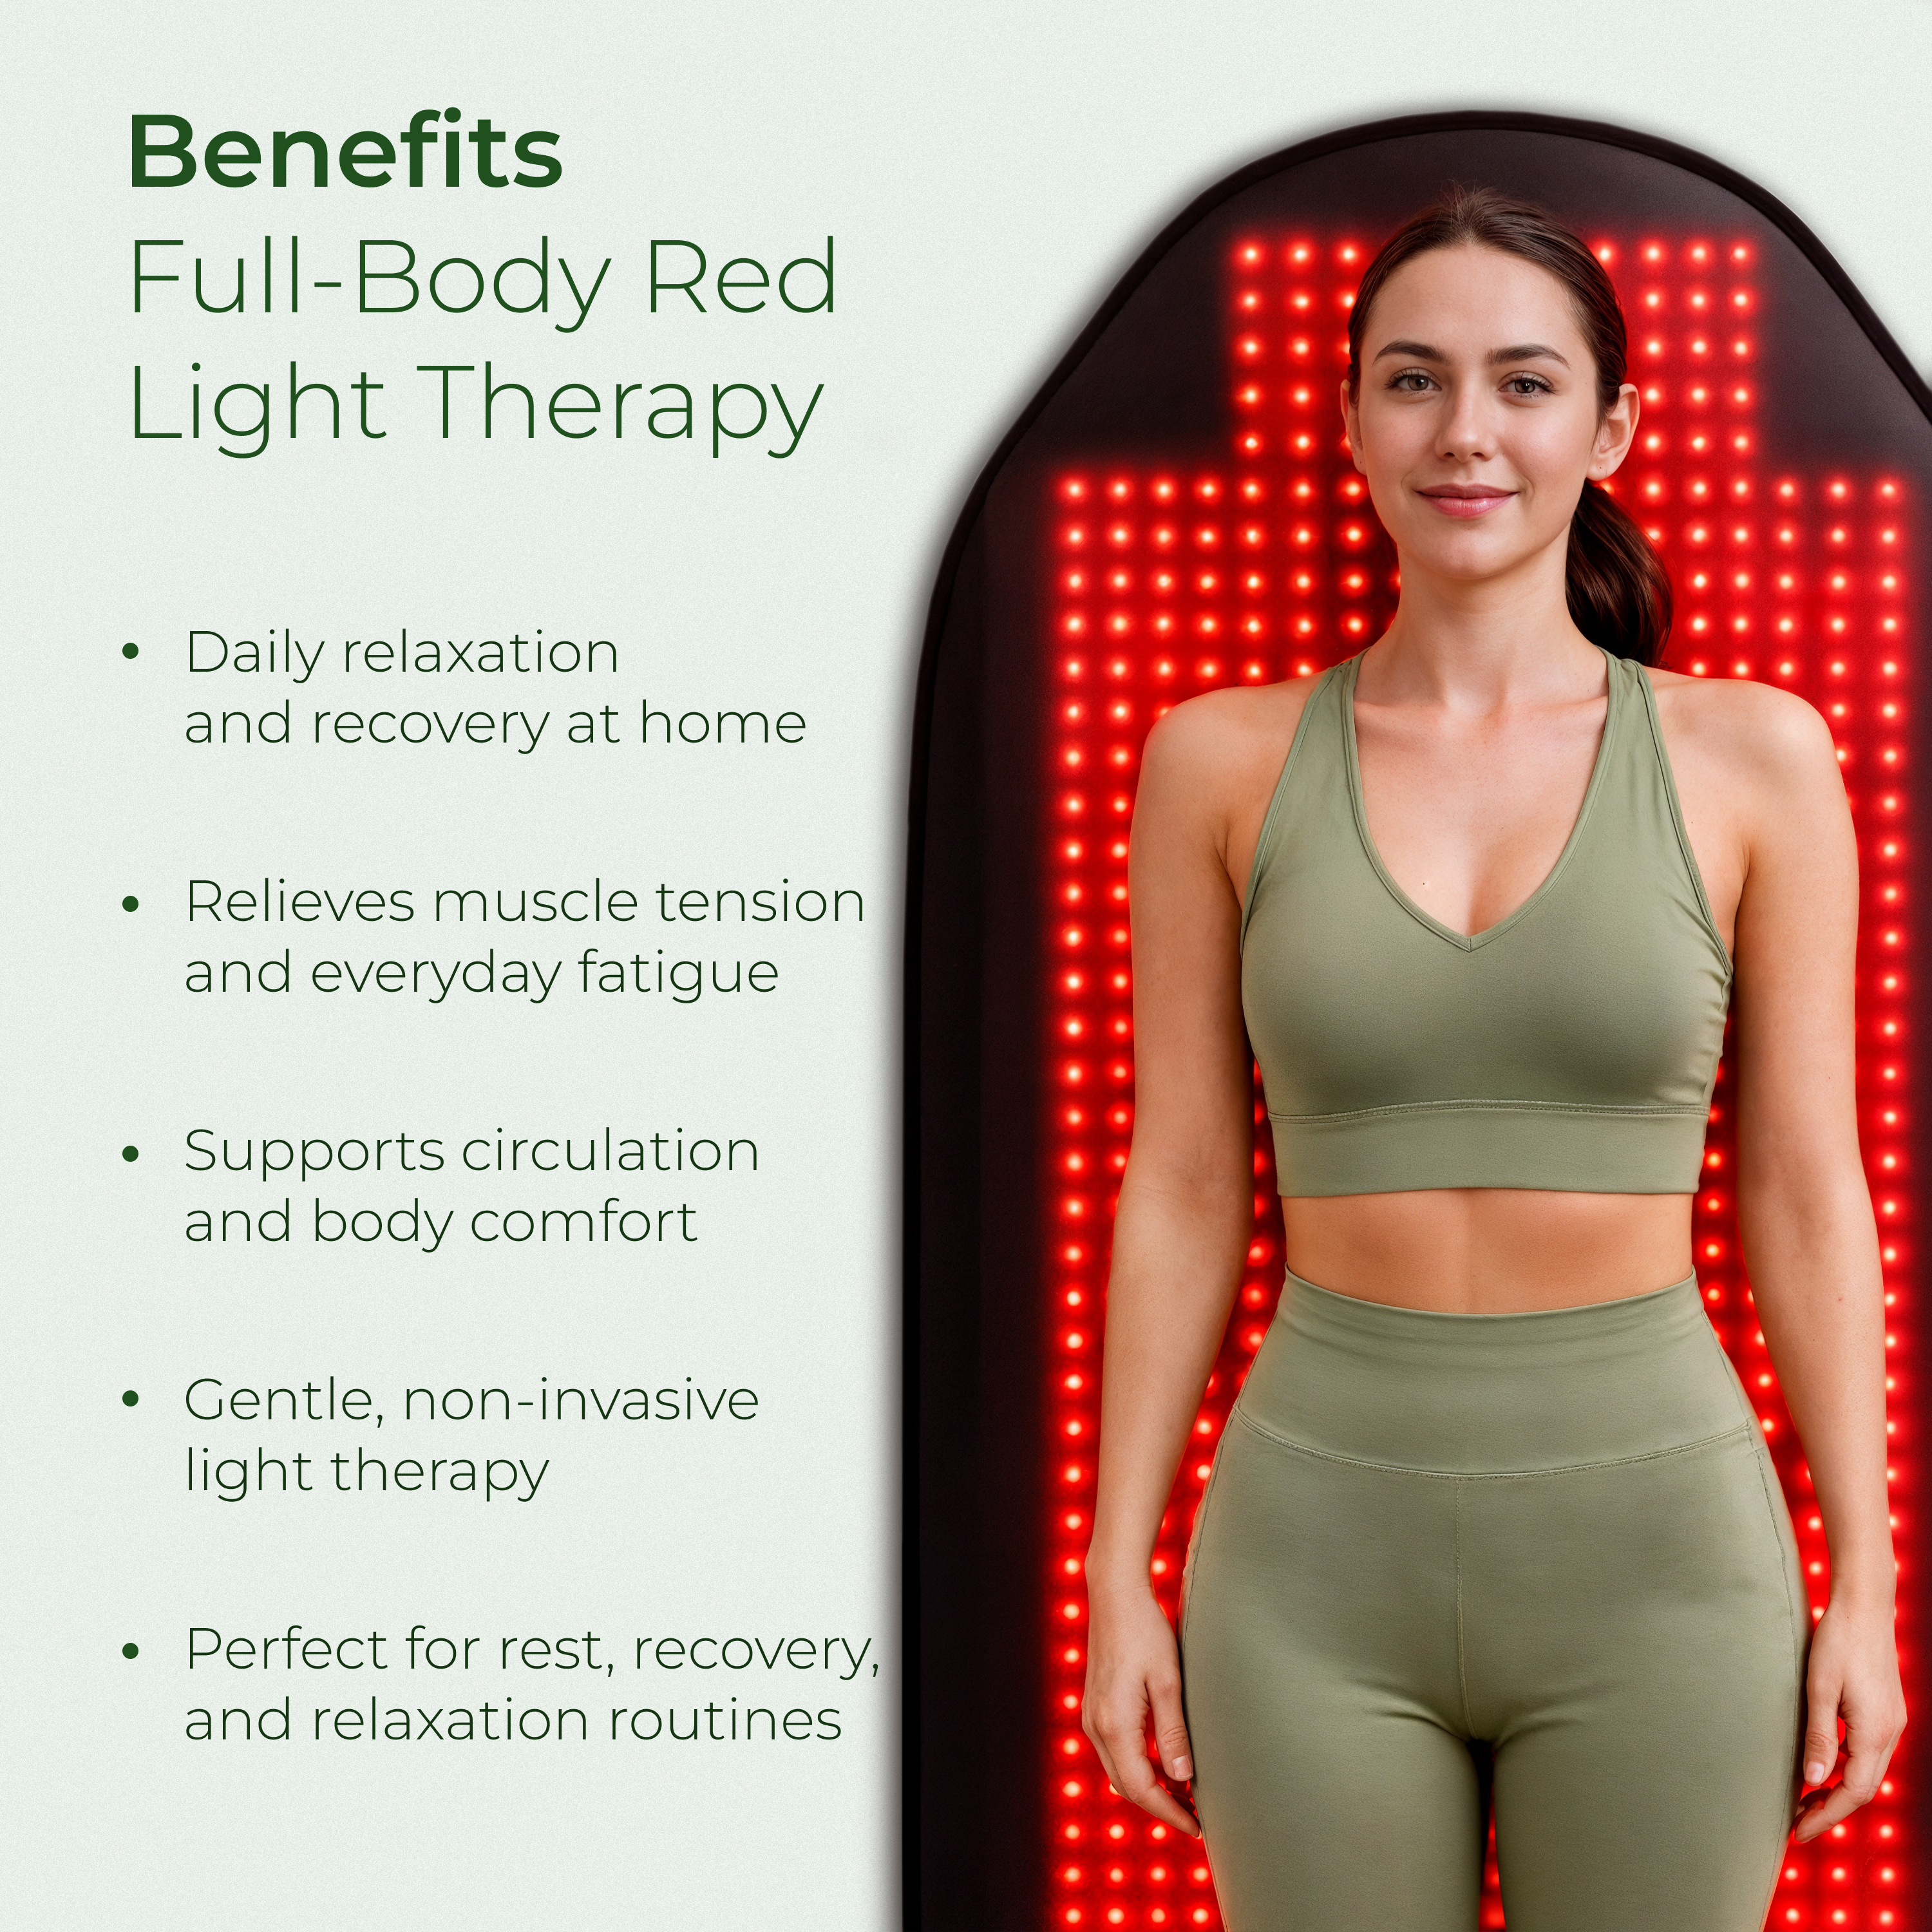
LED light therapy uses specific wavelengths to trigger cellular changes. Red light (630-700nm) stimulates collagen production—something no DIY mask can do. Blue light (405-420nm) kills acne-causing bacteria at a level that antibacterial honey can't match.
After your DIY face mask has nourished and hydrated, following with LED therapy amplifies benefits. Your freshly treated skin is more receptive to light energy, and the combination addresses both surface and cellular concerns.
How TrophySkin Can Help
TrophySkin's professional-grade home devices are designed to complement your skincare routine. Our LED light therapy panels deliver clinical-strength wavelengths, while our microdermabrasion systems prepare skin for maximum absorption—making your DIY masks work harder.
Explore Our Devices →Expected Timeline: What to Expect
When combining DIY face masks with professional tools, results build progressively. Here's a realistic timeline based on consistent use.
Week 1-2
Immediate hydration boost and softer skin texture. Skin feels fresher after each treatment. Pores may appear slightly smaller.
Week 3-4
Skin tone becomes more even. Acne breakouts reduce in frequency and severity. Natural glow becomes noticeable.
Week 6-8
Fine lines appear softer as collagen production increases. Hyperpigmentation starts fading. Friends begin asking about your skincare routine.
Month 3+
Visible improvement in skin firmness and elasticity. Long-term transformation becomes evident. Maintenance mode: your new normal is healthy, radiant skin.
Common DIY Face Mask Mistakes to Avoid
Making homemade masks seems simple, but there are pitfalls that can reduce effectiveness or even irritate your skin. Here's what to watch for.
Other common mistakes include: using ingredients past their prime (fresh is always better), applying to broken or sunburned skin, using lemon juice on sensitive skin (too acidic for some), and expecting overnight miracles from a single application.
Consistency matters more than intensity. Two masks per week for two months will outperform daily masking for one week. Your skin needs time to regenerate between treatments.
Frequently Asked Questions
Your Complete Skincare Routine Starts Here
DIY face masks are more than a weekend spa ritual—they're a fundamental part of healthy skincare when done right. By choosing recipes that match your skin type and using proper application techniques, you can achieve noticeable improvements in texture, tone, and radiance.
But remember: the real transformation happens when you combine natural treatments with professional-grade tools. Microdermabrasion prepares your skin to absorb nutrients, while LED light therapy triggers cellular changes that no kitchen ingredient can match.
Start with one or two recipes from this guide. Be consistent. And when you're ready to take your results to the next level, explore how TrophySkin's devices can complement your homemade skincare routine.
⚕️ Medical Disclaimer
This article is for educational purposes only and does not replace professional medical advice. If you have skin conditions like eczema, psoriasis, rosacea, or severe acne, consult a board-certified dermatologist before trying DIY face masks or new skincare treatments. Always patch test new ingredients.
Deixe um comentário
Este site está protegido pela Política de privacidade da hCaptcha e da hCaptcha e aplicam-se os Termos de serviço das mesmas.