

We are getting a lot of inquiries regarding how to set-up the newly released LED light devices we have. Some experience flickering lights or having a wobbly bendable arm (or gooseneck) that looks in danger of toppling over any second.
We would like to help you out the best we can. We do not want you to think we have sent you an inferior device. The LED light devices we have are guaranteed to be free from defects or workmanship issues.
If there are obvious damage to your product, do not hesitate to contact us and fill up our support case form so we can assist you properly.
What to expect in your light therapy kit
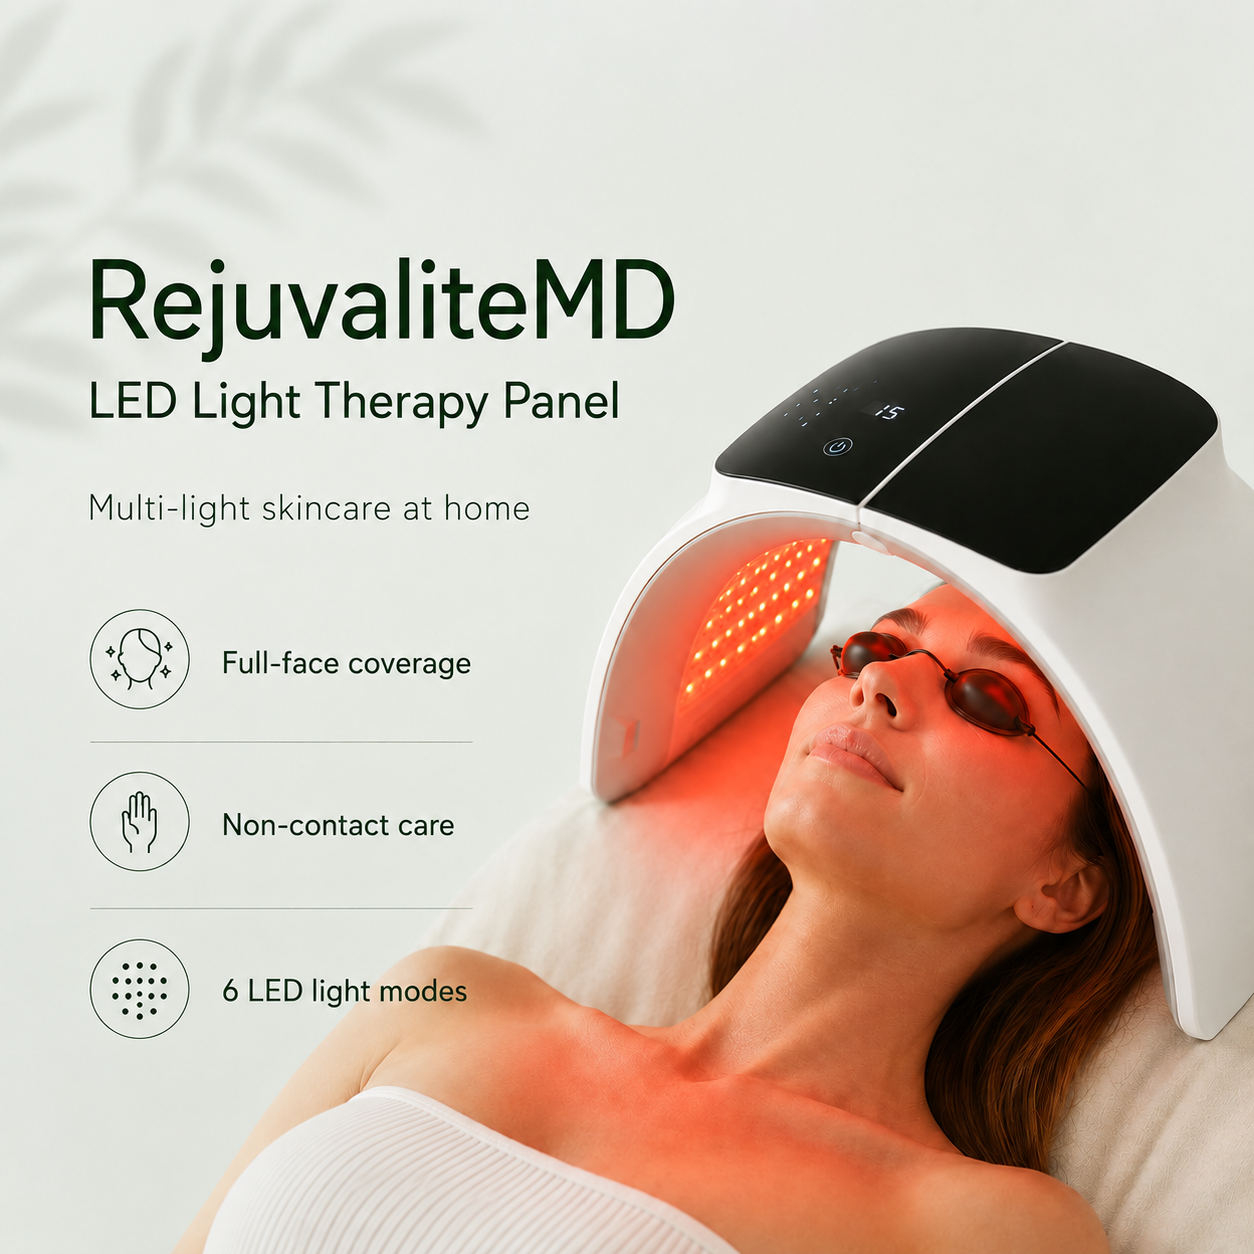
When you unbox your BlueMD Anti-Acne Blue Light Therapy Device or RejuvaliteMD Anti-Aging Red Light Therapy Device, you will notice that the lamp is divided into 4 parts: The LED Panel, The Bendable arm, The Base and the Power Adapter.
You need to make sure you are assembling the lamp on a solid and sturdy table because the base is made to be heavy to prevent the lamp from falling over while doing treatments.
How to assemble your lamp
First, you need to attach the LED panel to the bendable arm. Make sure that the nut on the back of the LED panel is tight and unmovable. If it is loose when you receive the product, please let us know.
There are 3 pins from the circular head of the bendable arm that fit the metal conductors of the LED panel. Attach the LED panel to the bendable arm. You will hear a fairly loud snapping sound that tells you it is safely attached in place.
There should be no space or cracks between the attached portions. If there are any, push the two buttons on either side of the circular head of the bendable arm to release the LED panel and snap it carefully in place again. If it is not snapping in place correctly, let us know.
Next, attach the joint or the end part of the bendable arm to the base. It helps if you slightly push it in. Hold it with both hands and turn it clockwise. Your right hand should be twisting or turning it in place while your left arm supports the bendable arm at the joint.
Twist the LED Panel and bendable arm until it is locked in place. You will feel that the outer covering of the bendable arm is moving or somehow loose. This is designed this way to make it more flexible and to accommodate bending the arm in positions you are comfortable in during treatments.
Attach the power cord to the port at the back of the base. Plug it in. Make sure that the adapter is lighting up at the wall. If it is not lighting up, try to use a different outlet. Contact us if the adapter doesn’t turn green when plugged in.
Press the power button to turn the lamp on. The power button should light up when it is on and that is also an indication that there is power at the base. The LED lamp should be lighting up.
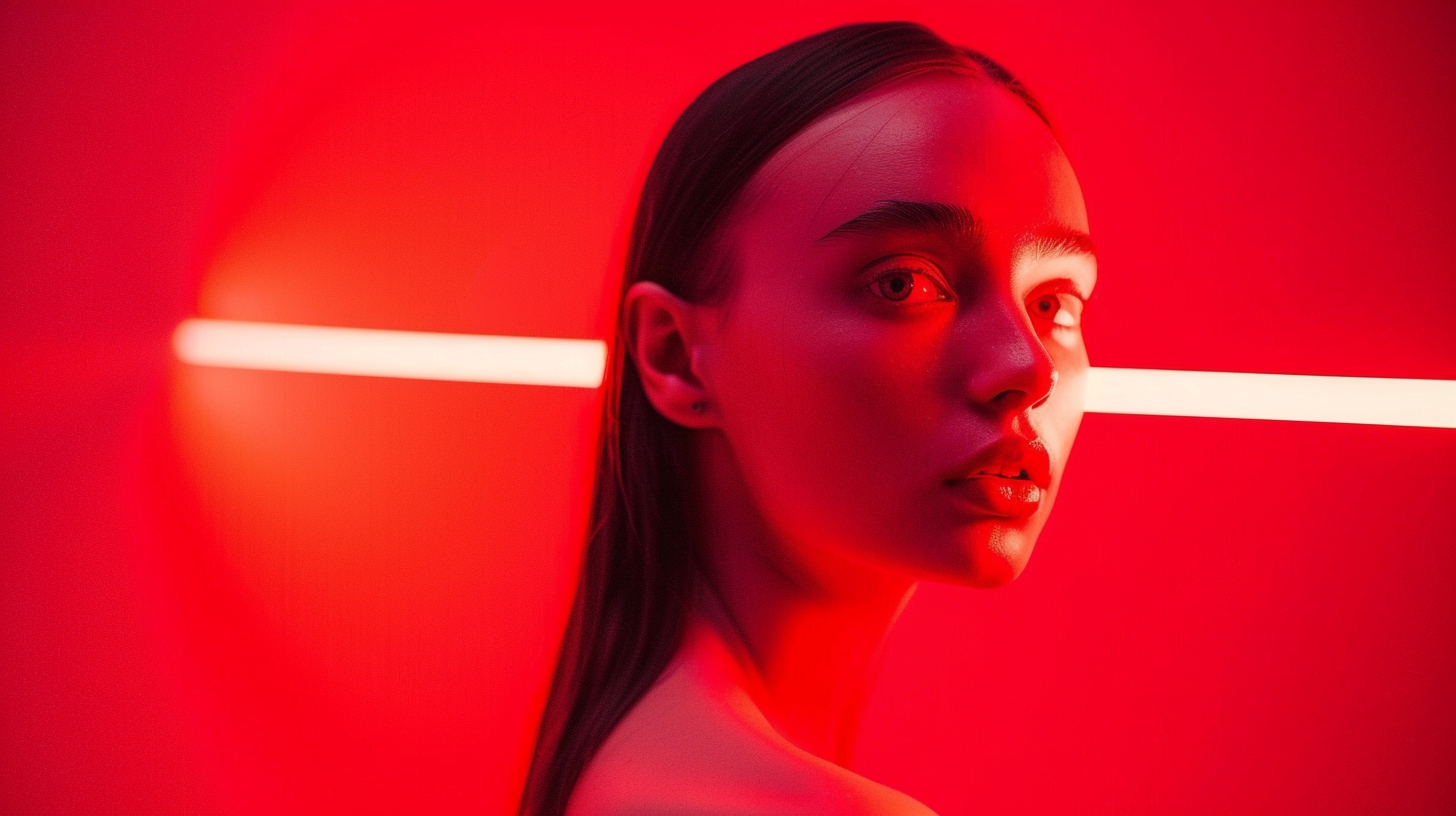
In BlueMD, there are 2 rows of lights that appear unlit. These are the INFRARED bulbs at 880 nm. Infrared lights do not produce any visible color. These penetrate the skin to help calm inflammation brought about by acne.
In RejuvaliteMD, there should be 3 rows of red, 3 rows of amber, 3 rows of yellow and 3 rows of infrared lights. Again, infrared bulbs will appear unlit. These aren’t defective or burnt bulbs. These are the infrared bulbs that do not produce visible light because it can’t be detected by human eyes.
The LED lights are guaranteed to last for years. Trophy Skin light therapy devices has a 1-year limited manufacturer's warranty.
If you have a concern with setting up your device, or if you still experience product performance issues, do not hesitate to contact our Customer Service Representatives.
Light Therapy: A Bright Solution for Mental and Physical Health
Light therapy has emerged as a powerful tool in treating various mental health conditions and skin disorders. By harnessing the benefits of controlled light exposure, this non-invasive treatment has shown promising results, particularly for those suffering from Seasonal Affective Disorder (SAD), major depressive disorder. The core of light therapy lies in its ability to simulate natural sunlight, which is essential for regulating the body's circadian rhythm and boosting mood-related hormones.
Understanding Seasonal Affective Disorder and Light Therapy
Seasonal Affective Disorder (SAD) is a type of depression that typically occurs during the fall and winter months when natural sunlight is scarce. This condition can lead to feelings of hopelessness, lack of energy, and disruptions in sleep patterns. Light therapy, also known as bright light therapy, is a common treatment for SAD. By using a light box that emits a bright light, usually at an intensity of 10,000 lux, individuals can receive the necessary light exposure that they miss during the darker months. Light therapy may be most effective when used early in the morning, mimicking the natural sunrise and helping to reset the body's internal clock.
Light Therapy and Major Depressive Disorder
It affects millions of people worldwide, and while there are various treatments available, light therapy is gaining recognition for its effectiveness in alleviating symptoms. Studies suggest that bright light therapy can have a positive impact on mood by influencing the production of serotonin, a neurotransmitter that plays a critical role in mood regulation. For individuals with MDD, consistent light exposure through light therapy can lead to significant improvements in mood and overall well-being, especially when combined with other treatments like cognitive-behavioral therapy or medication.
The Role of Light Therapy in Bipolar Disorder
It is a complex mental health condition characterized by extreme mood swings, including episodes of depression and mania. Light therapy may be beneficial in managing the depressive episodes associated with bipolar disorder, though it must be administered carefully to avoid triggering manic episodes. Light intensity and duration are crucial factors in the treatment process, and it is often recommended that patients work closely with their healthcare providers to tailor the therapy to their specific needs.
Light Therapy Beyond Mental Health: Treating Skin Conditions
Beyond its mental health applications, light therapy is also widely used in dermatology to treat conditions like psoriasis and acne. Psoriasis, a chronic skin condition that causes rapid skin cell turnover resulting in thick, scaly patches, can be effectively managed with targeted light therapy. By using specific wavelengths of light, such as ultraviolet (UV) light, this therapy can slow down the production of skin cells and reduce inflammation.
For acne sufferers, blue light therapy has become a popular treatment option. Blue light penetrates the skin and kills the bacteria that cause acne, helping to clear up breakouts without the need for harsh topical treatments or antibiotics. Devices like light boxes designed for home use have made this treatment more accessible, allowing individuals to manage their skin conditions in the comfort of their own homes.
Light Intensity and Safety Concerns
When using light therapy, especially at home, it's essential to consider the light intensity and duration of exposure. While light therapy is generally safe, improper use can lead to side effects such as eye strain, headaches, and, in rare cases, an increased risk of skin cancer if using UV light. It is vital to use devices that are designed for therapeutic purposes and to follow the manufacturer's guidelines for safe use. Modern light therapy devices are equipped with filters and other safety features to minimize these risks, but users should remain cautious and consult with a healthcare provider if they have concerns.
Selecting the Right Light Source for Therapy
It is crucial for the effectiveness of light therapy. Different conditions require different types of light. For instance, bright light therapy for SAD typically uses full-spectrum light that mimics natural sunlight, while blue light is used to treat acne, and red or near-infrared light is utilized for anti-aging treatments and healing. The light source should be positioned correctly to ensure maximum exposure, and users should be consistent with their therapy sessions to achieve the best results.
The Future of Light Therapy
As research continues, the applications of light therapy are likely to expand. New technologies are being developed to create more targeted treatments with adjustable light intensity and wavelength options. These advancements could lead to more personalized therapy protocols, increasing the effectiveness of treatment for a wider range of conditions. Additionally, ongoing studies are exploring the potential benefits of light therapy in treating other disorders, such as sleep disorders, Alzheimer's disease, and chronic pain.
Conclusion: The Bright Side of Light Therapy
Light therapy offers a versatile and effective treatment option for various mental and physical health conditions. Whether it's managing the symptoms of Seasonal Affective Disorder, or treating skin conditions like psoriasis and acne, light therapy provides a non-invasive and accessible solution. However, it's essential to use the therapy correctly, paying attention to light intensity, exposure duration, and safety precautions. As technology advances, the scope of light therapy will likely broaden, offering even more hope for those seeking relief from their symptoms.

Leave a comment
This site is protected by hCaptcha and the hCaptcha Privacy Policy and Terms of Service apply.