


Quick Answer: Microdermabrasion step by step involves 6 key phases: cleansing, skin prep, device application in upward motions, treating all facial zones, post-treatment toning, and deep moisturizing. When done correctly at home, this professional exfoliation technique reveals smoother, brighter skin in just 5-10 minutes per session.
Did you know that our skin sheds approximately 30,000 to 40,000 dead cells every minute? Yet not all of them fully release, leading to dull complexion, clogged pores, and uneven texture. Microdermabrasion step by step offers a powerful solution — a professional-grade exfoliation method you can now perform safely in your own bathroom.
Whether you're battling fine lines, acne scars, or simply want that coveted spa-fresh glow, understanding the proper steps for microdermabrasion facial treatment is essential. In this comprehensive guide, we'll walk through every phase of the microdermabrasion process, from preparation to aftercare, so you can achieve salon-quality results at home.
What Is Microdermabrasion?
Microdermabrasion is a non-invasive cosmetic procedure that combines two powerful skin renewal mechanisms: mechanical exfoliation and vacuum suction. Think of it as a precision-controlled "polishing" of your skin's surface that removes the outermost layer of dead cells (stratum corneum) to reveal the fresh, healthy skin underneath.
Unlike harsh chemical peels or abrasive scrubs, microdermabrasion uses either fine crystals (aluminum oxide) or diamond-tipped wands to gently resurface the skin. The simultaneous vacuum suction serves a dual purpose: it removes the loosened dead cells and stimulates blood circulation, bringing oxygen and nutrients to the treatment area.
Crystal vs. Diamond Microdermabrasion
There are two main types of microdermabrasion systems available for at-home use. Crystal microdermabrasion sprays fine aluminum oxide particles onto the skin and vacuums them back up along with dead cells. Diamond-tip microdermabrasion uses a wand with a diamond-encrusted head that physically buffs the skin while the vacuum simultaneously suctions away debris.
For home use, diamond-tip devices are generally preferred because they're easier to control, don't risk crystal particles getting into eyes, and offer more consistent results. Most modern at-home microdermabrasion devices use diamond technology for these reasons.
Benefits of Microdermabrasion
Regular microdermabrasion treatments offer multiple benefits that compound over time. By understanding what this procedure can accomplish, you'll be better motivated to follow each step of microdermabrasion carefully and consistently.
Immediate benefits include smoother skin texture, reduced appearance of enlarged pores, and an instant healthy glow. The mechanical exfoliation removes the barrier of dead cells that makes skin look dull and tired.
Long-term benefits develop with consistent use. The controlled "micro-injury" from exfoliation triggers your skin's natural healing response, stimulating collagen and elastin production. Over 4-6 weekly sessions, you'll notice diminished fine lines, faded hyperpigmentation, and improved overall skin density.
Perhaps most importantly, removing the dead cell layer allows your serums and moisturizers to penetrate up to 20 times more effectively. This means your entire skincare routine becomes more powerful after microdermabrasion.
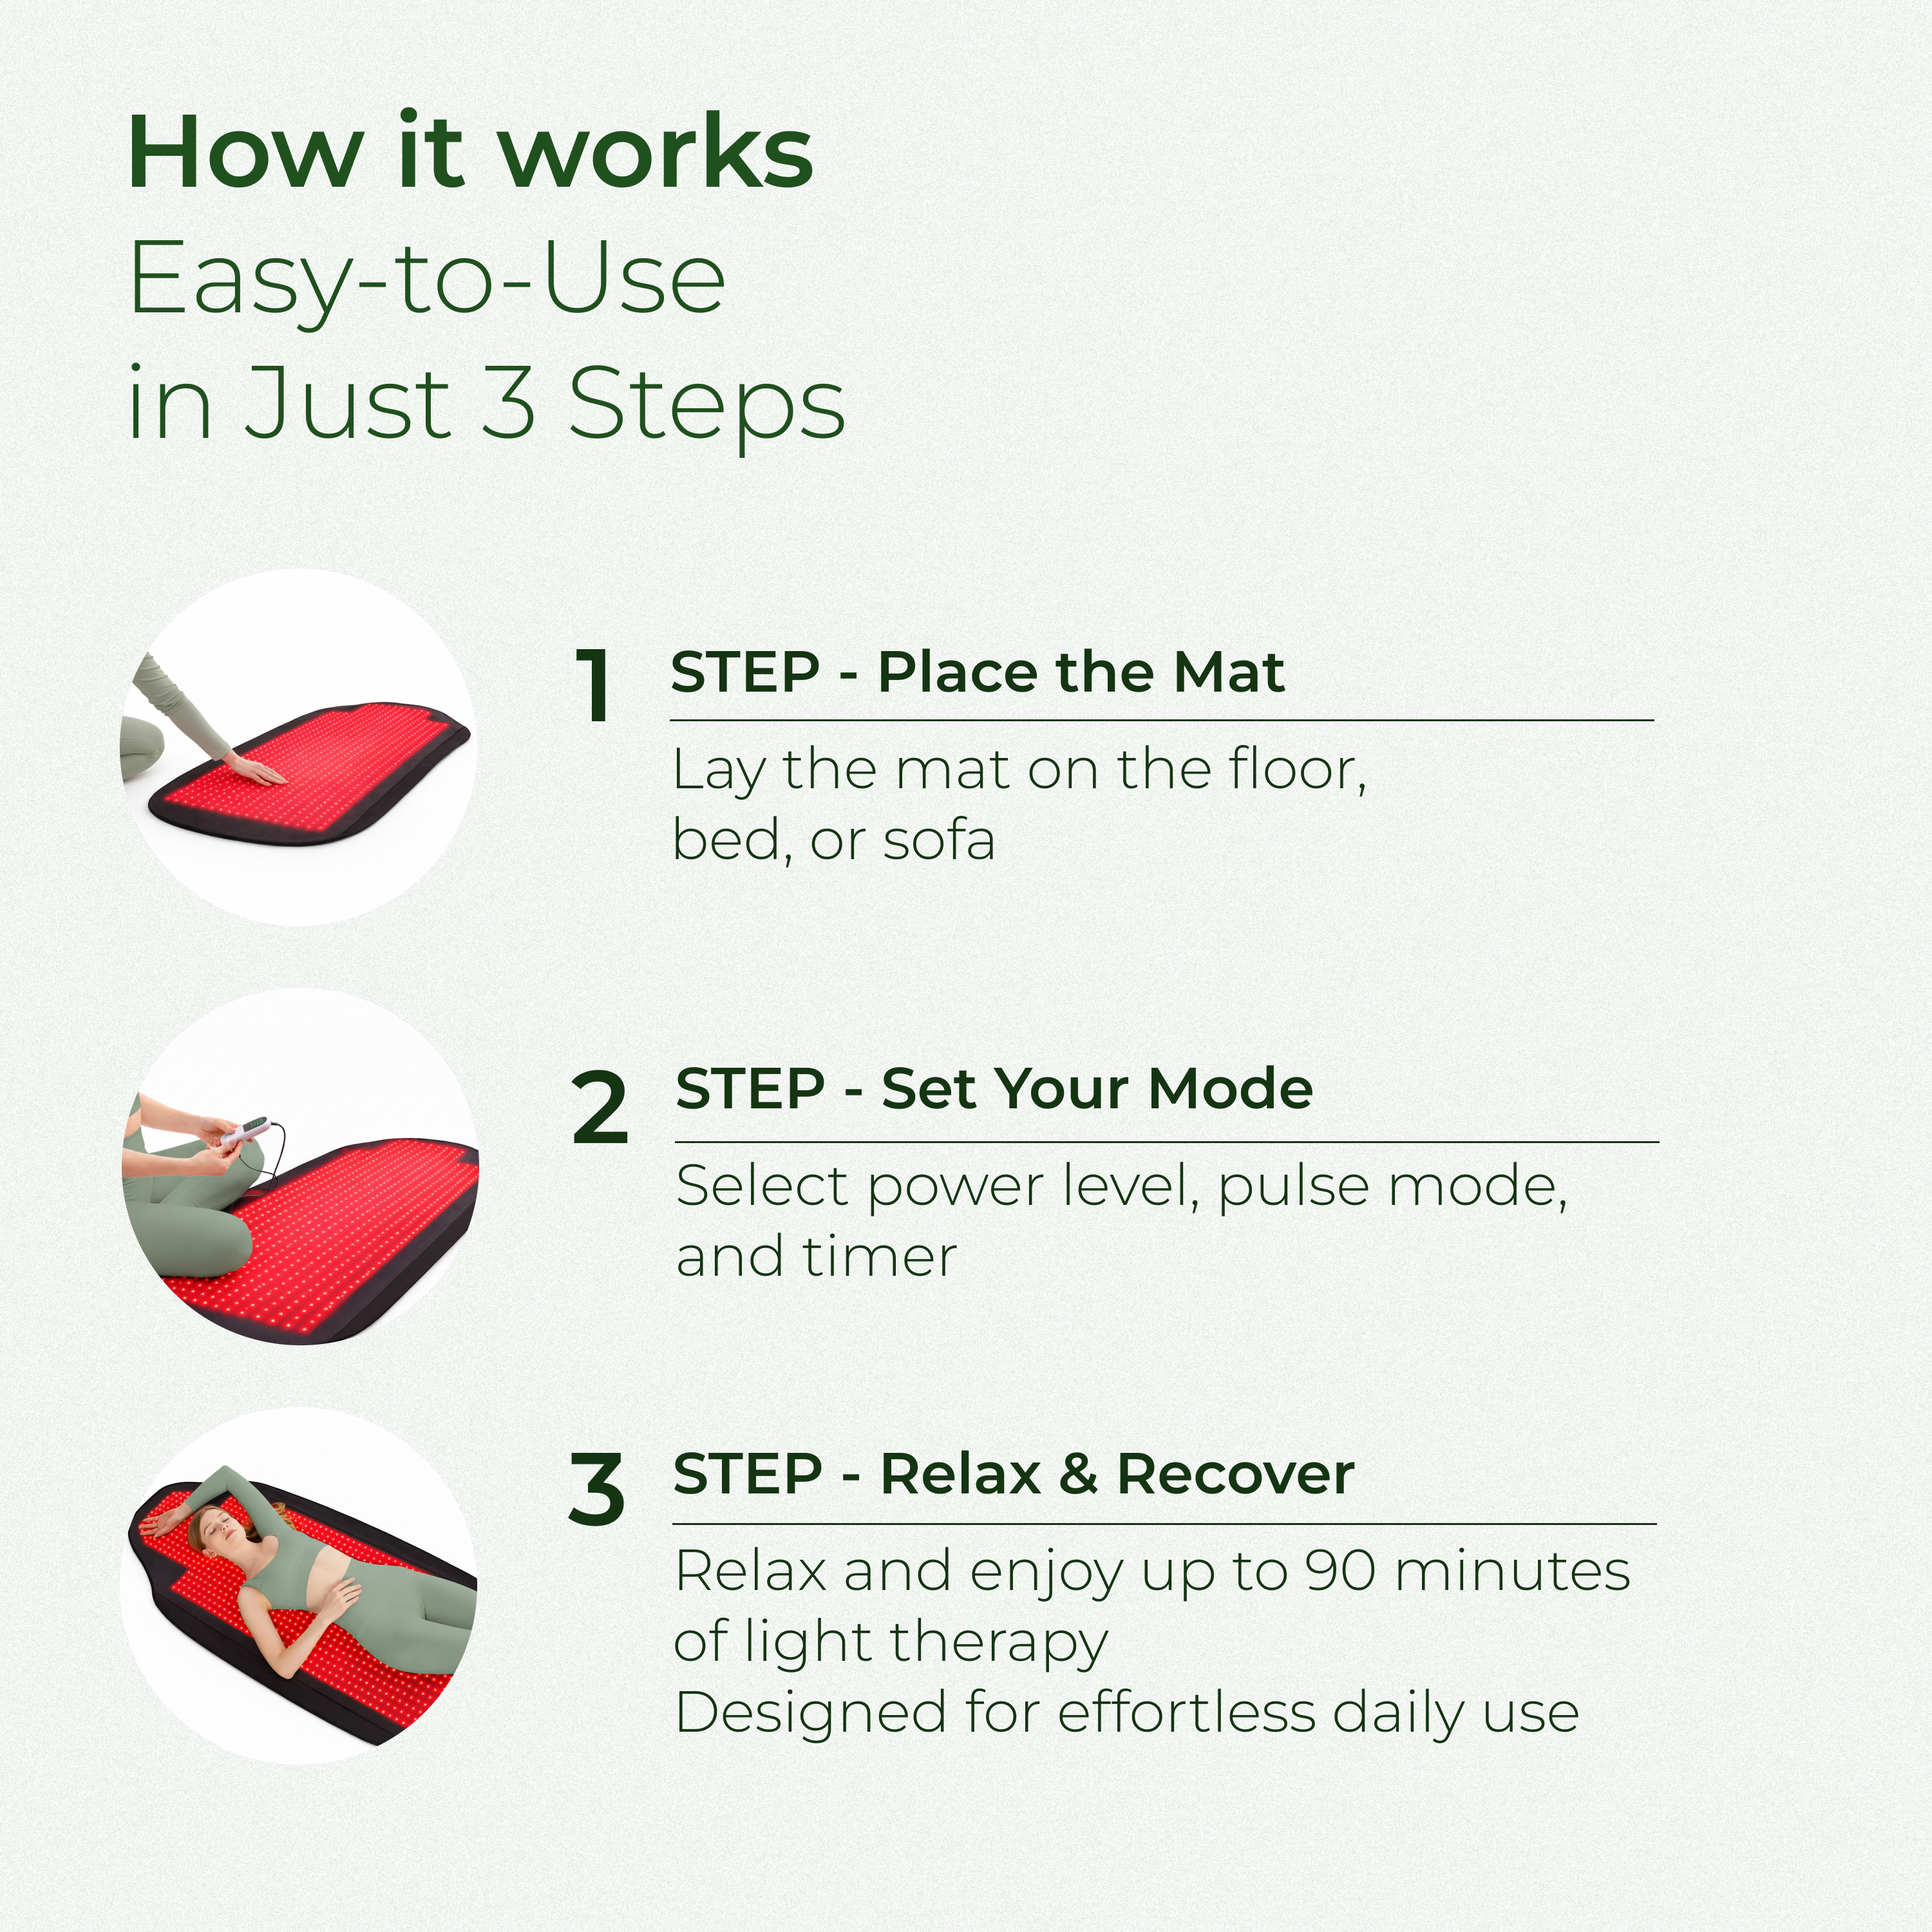
Microdermabrasion Step by Step: Your Complete Guide
Now let's dive into the exact steps of microdermabrasion for achieving professional results at home. Following this microdermabrasion step by step protocol ensures both safety and effectiveness.
Pro Tip: Before treating your face, test the device on your inner arm or leg first. This helps you get comfortable with the gliding motion and suction sensation, reducing the chance of accidentally pressing too hard on facial skin.
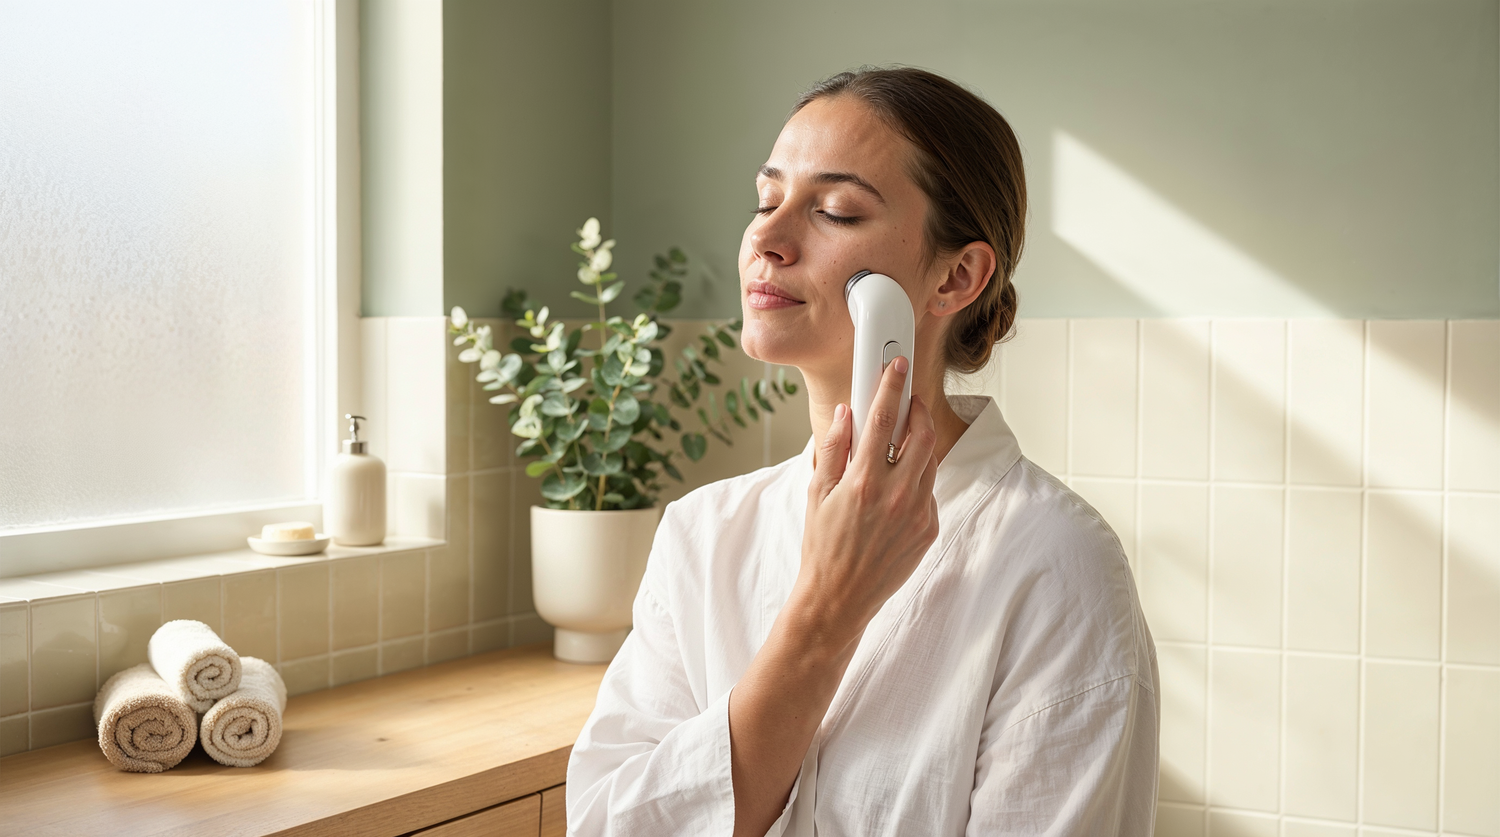
 Before & After Microdermabrasion Care
The steps of microdermabrasion don't end when you turn off the device. Proper preparation and aftercare are equally crucial for achieving optimal results and avoiding complications.
What to Do Before Treatment
24-48 hours before: Stop using retinoids, AHAs, BHAs, vitamin C serums, and any other exfoliating products. Your skin needs to be in its natural state, not already sensitized by active ingredients.
Day of treatment: Avoid sun exposure before your session. Don't apply makeup or heavy creams that morning if treating later in the day. Make sure any facial hair is shaved 24 hours prior (if applicable) to prevent irritation.
Post-Treatment Care Timeline
First 24 Hours
Use only gentle, fragrance-free products. Avoid touching your face unnecessarily. Skip makeup if possible. Don't exercise heavily (sweat can irritate freshly treated skin).
Days 1-3
Stay out of direct sunlight. Apply SPF 30+ every morning without exception. Continue avoiding retinoids and exfoliating acids. Your skin may feel slightly tight — this is normal.
Days 3-7
Gradually reintroduce your normal skincare routine. Some light flaking is normal as skin renews. Keep moisturizing generously. Schedule your next treatment 7-14 days out.
Ongoing Maintenance
For oily skin: treat every 7-10 days. For normal skin: every 10-14 days. For dry/sensitive skin: every 2-3 weeks. Always maintain consistent SPF use between treatments.
Important: Never perform microdermabrasion on active acne, sunburned skin, open wounds, rosacea flare-ups, or immediately after other exfoliating treatments. Wait at least 2 weeks after chemical peels or laser treatments before using your device.
Common Microdermabrasion Mistakes to Avoid
Even when following proper steps for microdermabrasion facial treatment, certain mistakes can undermine your results or cause skin issues. Here's what to watch out for:
Mistake #2: Pressing too hard. The vacuum suction does the work for you. Pressing the device into your skin increases bruising risk and doesn't improve exfoliation. Let the device glide lightly across your skin's surface.
Mistake #3: Treating too frequently. Your skin needs time to regenerate between sessions. Treating more often than every 7 days (for most skin types) leads to chronic irritation and a compromised moisture barrier. More is not better.
Mistake #4: Skipping sunscreen after. Your freshly exfoliated skin is significantly more vulnerable to UV damage. Failing to protect it can cause hyperpigmentation, sunburn, and accelerated aging — completely negating your treatment benefits.
Mistake #5: Using harsh products immediately after. Your skin barrier is temporarily weakened post-treatment. Applying retinol, vitamin C, or acids right after can cause severe irritation, burning, and lasting sensitivity.
Remember: Successful microdermabrasion is about consistency, not intensity. Gentle, regular treatments over time will always outperform aggressive, infrequent sessions. Treat your skin like the valuable organ it is.

Ready to Experience Professional Microdermabrasion at Home?
TrophySkin's microdermabrasion devices are designed for safe, effective at-home treatments. With adjustable suction levels and medical-grade diamond tips, you can achieve spa-quality results in just minutes per week. Your skin deserves professional care — on your schedule.
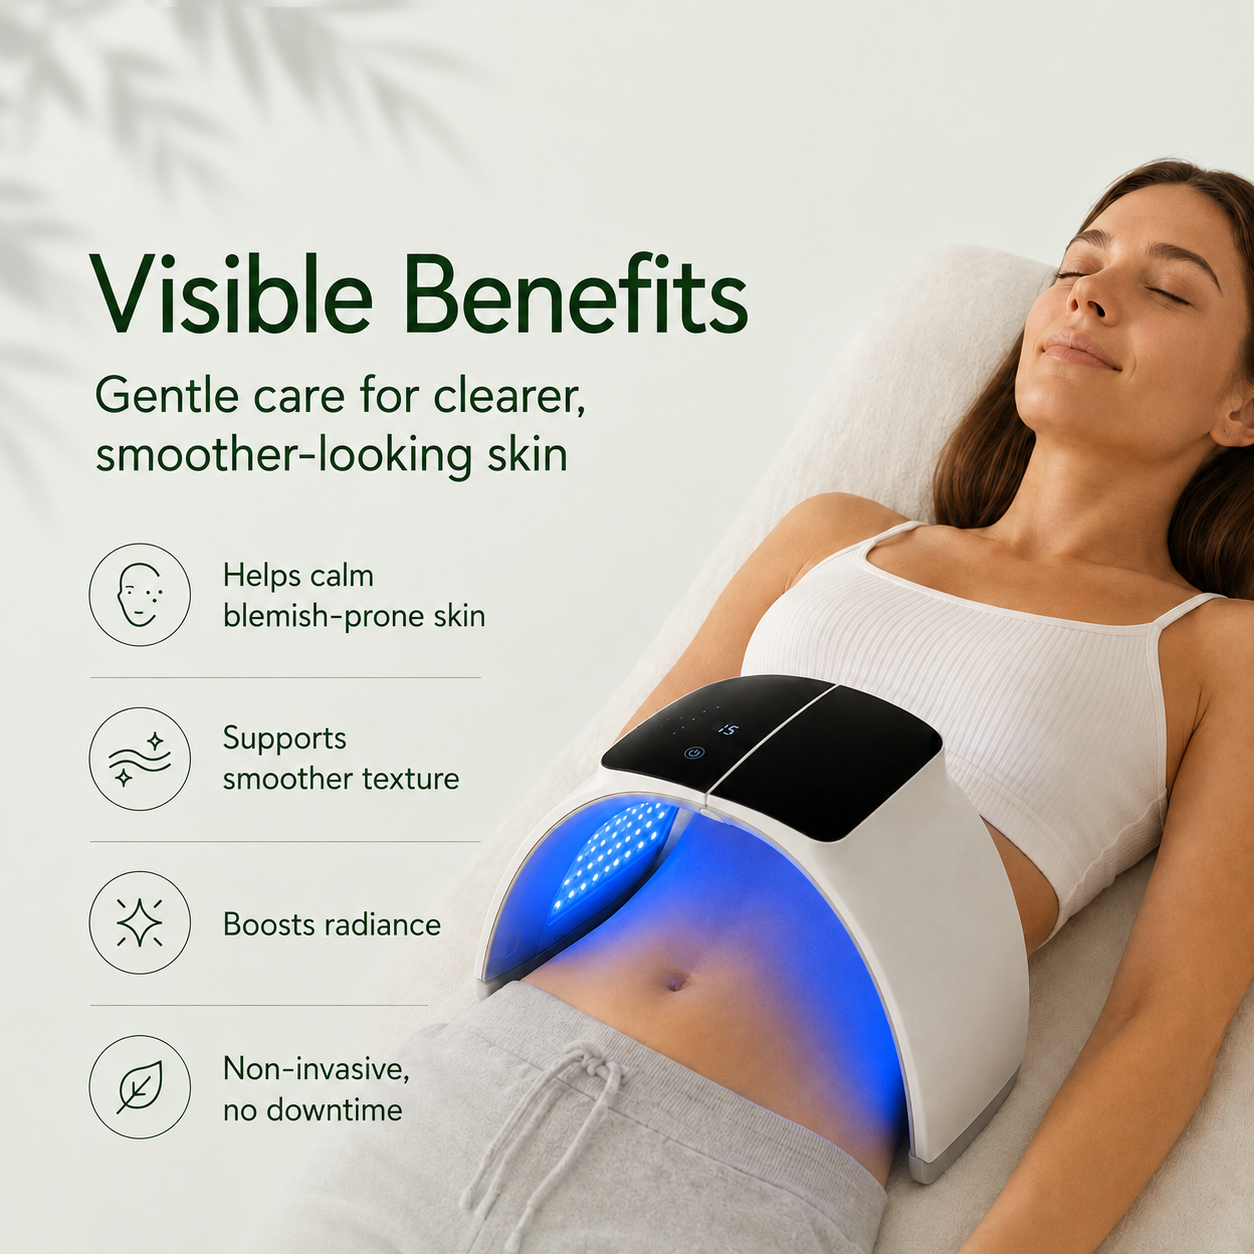
Explore Microdermabrasion Devices →Pro Tip: Consider pairing microdermabrasion with LED light therapy for enhanced results. Use your LED device after microdermabrasion to boost collagen production and calm any redness. The freshly exfoliated skin absorbs light therapy more effectively.
Frequently Asked Questions
⚕️ Medical Disclaimer
This article is for educational purposes only and does not replace professional medical advice. Consult a board-certified dermatologist before starting any new skincare regimen, especially if you have existing skin conditions, are pregnant, or take medications that affect skin sensitivity. Individual results may vary based on skin type, device quality, and treatment consistency.

Leave a comment
This site is protected by hCaptcha and the hCaptcha Privacy Policy and Terms of Service apply.